
Speaking of glue, after conferring yet again with Owen Daly of Owen Daly Early Keyboard Instruments, I decided to wait until I got my hot hide glue act together before proceeding. While conversing with Owen, he offered to sell me some of his 192-gram dried glue. Hide glue comes in several gram strengths and 192 seems to be ubiquitous among luthiers of all stripes.

I also purchased a hot pot on recommendation from Jan van Capelle, the Dutch Luthier. Not only is Jan a master luthier, he's a master at saving money, which I like. A lot. This setup reminds me of my bending tool that consists of galvanized pipe and a heat gun that I put together for around $30. In this case, I'll be mixing equal parts glue granules and distilled water and heating them in a glass jar immersed in water in the hot pot. I'll cook it to around 140 degrees Fahrenheit and let it cool down overnight. Then, I'll bring it to heat once again right before using it.
The plastic container with the label in the photo above is urea, a substance that will provide longer open time when I use the glue. Open time is the time it takes for the glue to set up. Hide glue is notoriously fast at setting up once it begins to cool to room temperature. Urea helps prevent this and can even make the glue more pliable for joints that will be under the strain of wood movement. Some builders also use salt for a similar purpose and the jury is still out regarding how much urea and/or salt affect the strength of the glue.
So, I've decided not to go with screws and yellow glue as mostly recommended by Mr. Miller in his eBook Most Excellent. I've decided to use trenails (square pegs) driven into holes that are smaller than the pegs. This creates a bond that, as Owen is wont to say, "holds like grim death." Of course, I'm going to test this method out first, but I must admit it seems intuitively to be more aligned with the quality of instruments I want to make. This is no judgment about Mr. Miller's methods at all, only that I think I prefer this method at this time. We'll see.
On a somewhat related note, I was able to complete the tail vise for the workbench this weekend. After cutting some walnut to dimension (yeah, the free stuff from Goby Walnut and Western Hardwoods), I stopped to sleep on how to go about drawing routing lines and screw holes into the bench side piece. Fortunately, I dreamed (literally) up a solution using parchment paper from the kitchen to make a drill template.

You can see where I routed out the walnut board and finished it with Tru-Oil. Because the vise was mounted to the bench, I had no idea how to place the holes with complete accuracy. As I said, I dreamed about using paper of some sort to draw everything out, which made it super-easy to accomplish the task.

Once I got the holes drilled and countersunk, I mounted the piece to the bench.
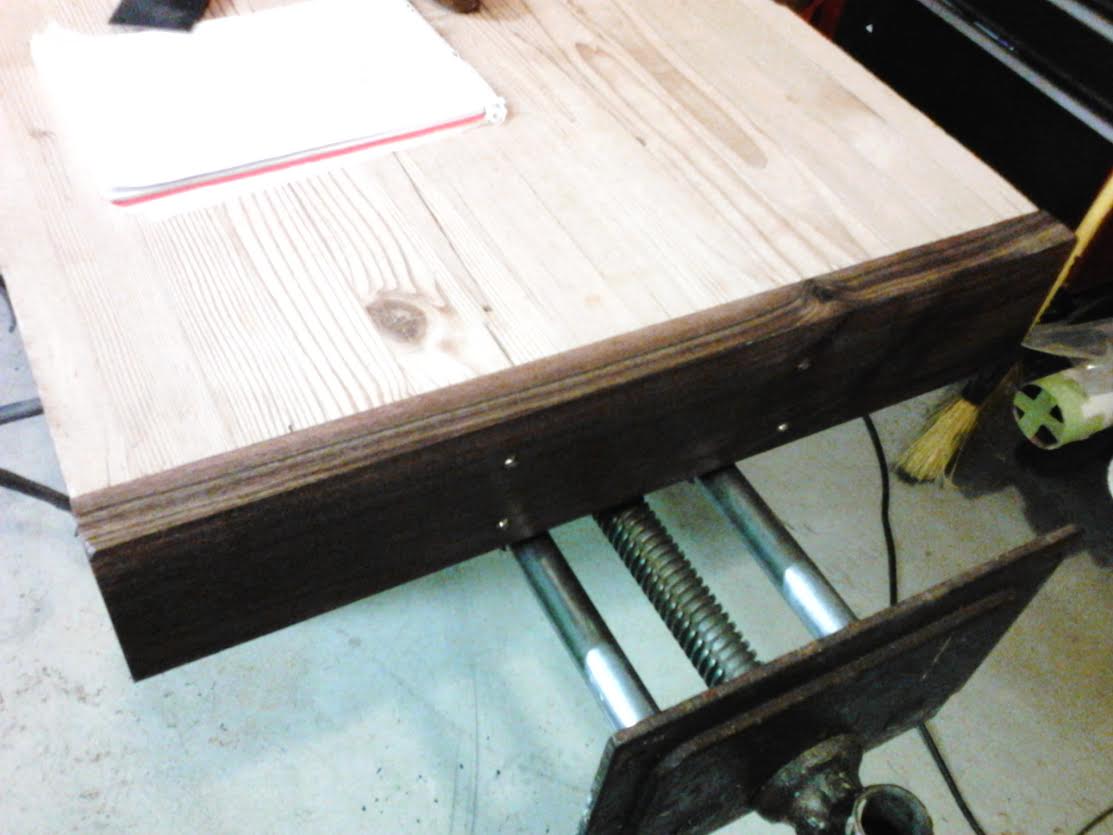
Then, I simply mounted the other piece by putting it in the vise and closing the contraption. I drilled the holes and put in the screws with the vise shut and, voila, it was suddenly finished.

I didn't document this fully because, well, it was a pretty boring process, but you get the drift. This vise is an antique 10" quick-release model my wife purchased for me as a birthday present from Astoria Vintage Hardware during one of our monthly pilgrimages to that fair city. I think it's going to work out fine and I'm glad to have this part of the project completed. Next, I'll add a few dog holes to the distal side of the tail vise, trim back the leg mortises (they're 1/4" rich above the bench top) and begin the exacting process of completing the leg vise, which will allow me to call the project completed.
Until next time...
No comments:
Post a Comment