Wednesday, April 27, 2016

Project Update: A Pleasant Diversion

From time to time, my wife, Tonya, and I travel around the Pacific Northwest taking our time and stopping where our whims take us. This past weekend, they took us to Aurora, Oregon, a town widely known for it's historic buildings and antique shops. What we didn't know about this quaint, little township is that it started out as a Christian communal settlement. Yes, they were Communists! As were the original Church "members" so many years ago in Palestine. But, I digress.

Originally, this little town was a western offshoot of a group based in Bethel, Missouri. Like the Latter Day Saints in nearby Nauvoo, Illinois, they sought greater religious freedom by trekking west to establish a settlement that would allow them to practice their particular brand of Christianity. Fortunately, they landed in the Oregon Territory as the Aurora Colony and the rest is, as they say, history.

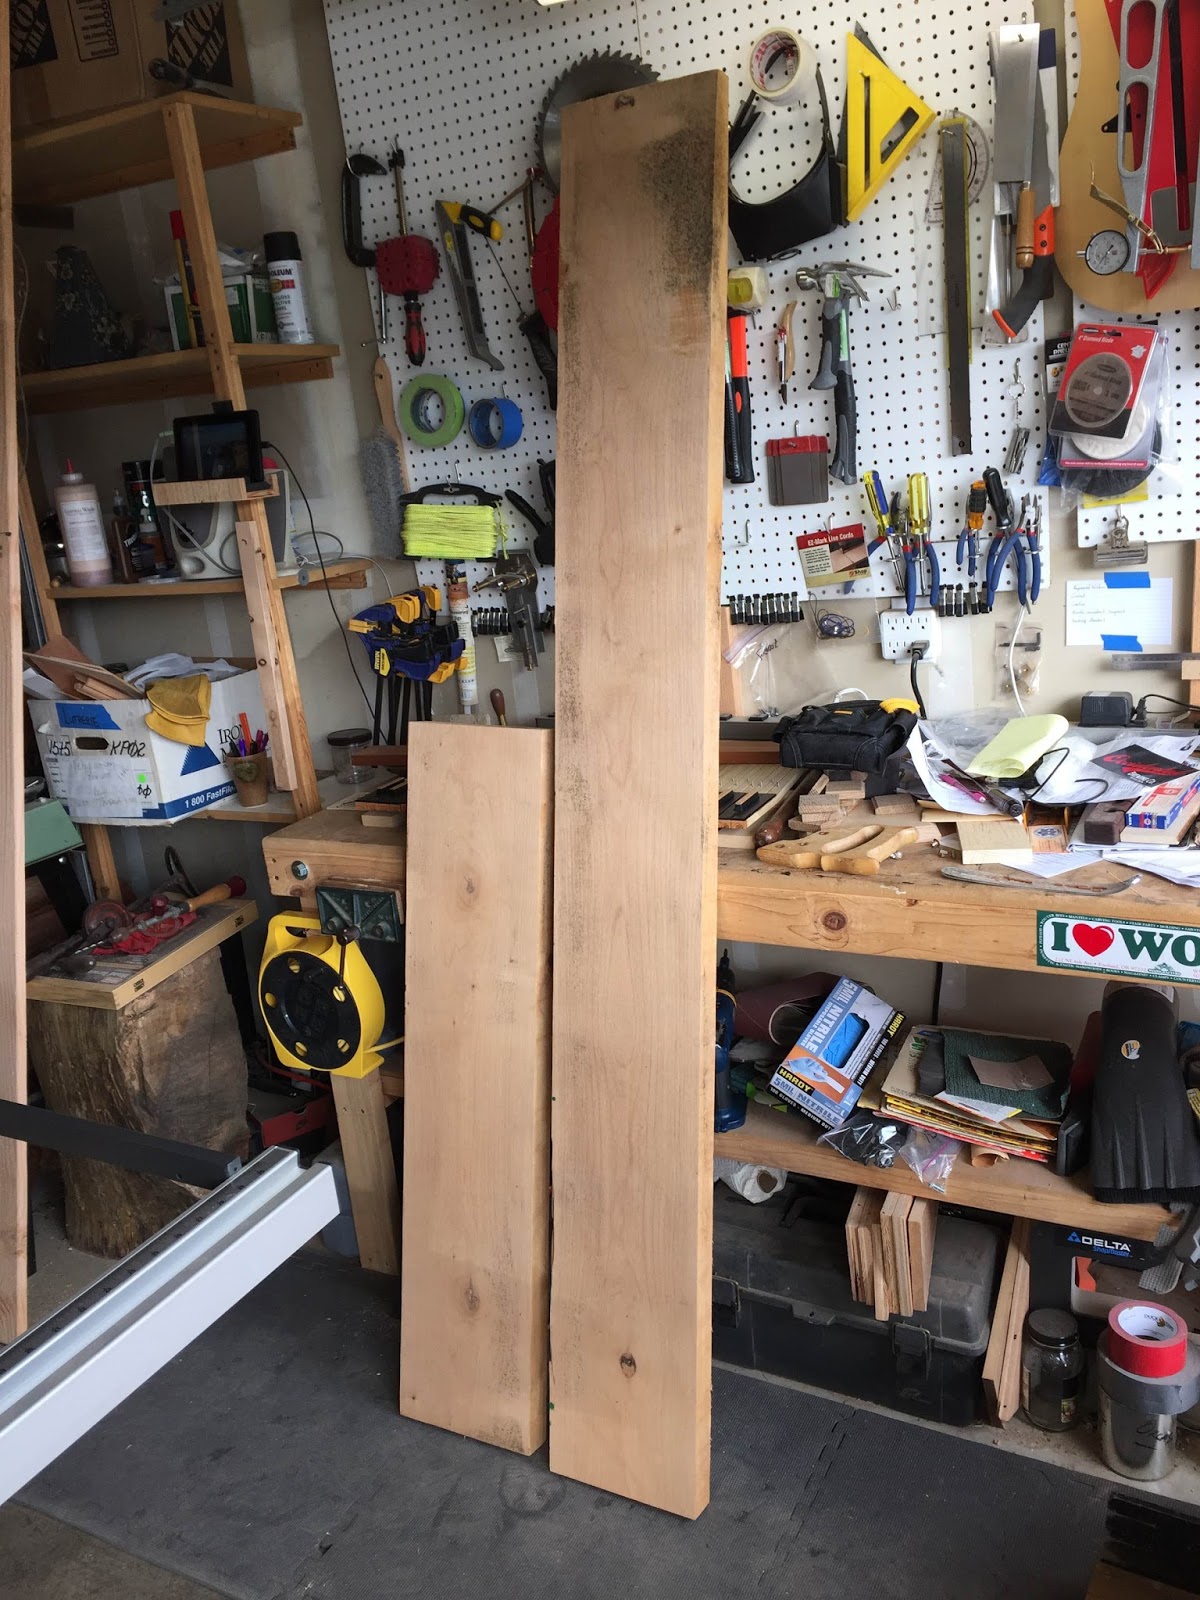
We roamed around town visiting many nice antique shops with a wide range of old stuff, including this nice, little No. 3 hand plane for only $20!


Yes, this was a great find, but I can say with complete candor that most of the other planes, scrapers, marking tools, and rulers I found throughout the little town were covered with that typically fine, invisible sheen of 22k gold that one expects when the word "antique" is bantered about and everything is priced accordingly. What we did not expect to find was one of the most pleasant, carefully curated museums we've ever had the pleasure of frequenting - the Old Aurora Colony Historical Museum.

After watching a short video on the history of the group and loitering about, Cool Volunteer Guy directed us to "the courtyard." What we found there was astonishing - at least for me. Outside in various barns and buildings were woodworking tools of all shapes and sizes. And by sizes, I mean they had everything from small hand planes to a barn-sized treadle lathe - all set up and in fair working condition! The first barn we hit held several seat clamps (not really sure what they're called) for hand scraping with a spokeshave.


This is where they work with children to create their own pegs. Cool Volunteer Guy said they see 4,000+ kids go through the hands-on experience every year. Amazing! Next, we observed the barn-sized treadle lathe.


Imagine having to work this thing with your leg while maintaining the accuracy of your cuts. Next, we stood just a few inches from a workbench that looked strikingly familiar.


See that leg vice? That's how the Old Guys used to make them. There's neither an end vice nor a deadman on this one - they simply drilled dogholes into the edge of the bench. Very cool - and just what I would have done. Finally, we took a peek inside a workshop that makes mine look clean and organized.


Cool Volunteer Guy told us that they have hundreds, if not thousands, of old timey hand planes in storage. Heck, I thought they had them all on display. Of course a real workshop would have been better organized with a more historically accurate workbench, but I still enjoyed this one enormously. What an experience!

Until next time...

Tuesday, April 26, 2016

Project Update: Finishing Up the Stretchers

To complete the bench shelf stretchers, I needed to plane down the alder 8/4 planks I picked up last week. The first step was to plane them to final thickness, which I determined was 1 3/4".


As you may recall, I had the original 10' plank cut into 6 1/2' and 3 1/2' pieces.


After planing, I chopped each of them to length.


Once I got them chopped down, I cut them to width and started cutting the tenons on the table saw using Random Roger Green's cool, old tenoning jig.


I then proceeded to cut the negative space out of the tenons that resulted in this:


What's wrong with this picture? Well, on the top one, I cut out the tenon - the 3/4" piece, rather than the 1" piece. Hey, I was tired. And should not have been working in the shop. So, the next step is to simply cut the shallow one deeper. Easy peasy. I'm traveling for the day job this week and will get things shaped up this coming weekend.

On a completely unrelated note, one of my Facebook Friends, Alan Ollivant, let all of us know that his company, North American Wood Products, was moving locations and would be holding a super-sale of their current stock. Alan was right - it was a sale and it was super.


Yes, that's the inimitable Mark Roberts of Mark Roberts Guitars and Ukuleles in the shot above. I also introduced myself to Charles Fox of American School of Lutherie and Fox bending machine fame. He kindly invited me to visit one of his classes in progress, an offer that I will gladly take him up on soon.

I arrived early and managed to brave the feeding frenzy to pick up this stash of my own:


Guitar necks for $5, free bracing stock, figured maple at a fraction of its original price. I also picked up some "piano wood" they had standing in the shop "for 15 years."


It's the wrapped wood in the photo above and enough for at least two soundboards, maybe three. They're 1/2" planks that I can resaw to my heart's content. This was one of those sales I always hear about, but miss. I did not miss this one. I'm stocked up for a while now and I believe I got enough wood to build at least two treble violas da gamba, as well.

I am, as they say, good to go.

Until next time...

Tuesday, April 19, 2016

Project Update: Mortises and Stretchers

After speaking with Random Roger Green about what type and size of wood to use for the bench shelf stretchers (these are simply the pieces of wood that run the length and width of the bench that hold the lower hand plane shelves), I decided to hold off on cutting the mortises for them into the legs. And it's a good thing I did. The best piece of alder I could find was at Shur-Way Building Center here in Vancouver; it was a plank that was dimensioned as "8/4" (2" with some planed/sanded off) and roughly sanded. It was about 11 inches wide and 10 feet long, so I had them cut it into 6 1/2' and 3 1/2' pieces for transport home.


Given that the planks were rough-sanded and just under 1 7/8" in thickness, I decided I'd plane and sand them down to 1 3/4" thickness with the tenons being 3/4". This meant I needed to once again redraw the mortise lines into the legs. Fortunately, this is the last time I'll need to mess with that.


As I ran the alder plank through my little 12" lunchbox planer, chips began blowing out everywhere. What a mess. It's bad enough I don't have a connector to my dust collector on it and I have to duct tape it to my shop vac. That was it. I'd been noticing lines in my planed woods from a nick in one of the blades and this was the last straw. I took the thing apart to see what I could do with the clog and blades.


It turned out I should have done this, oh, a couple of years ago. What a mess. Wood chips and fragments were lodged in the blades and the dust exit was completely clogged with stringy wood. I don't even know what kind of wood it was, but it prevented the planer from blowing the chips into the shop vac. Once I got it cleared, I turned my attention to the handle that had broken off the last time I used it. Fortunately, I had one laying around that fit perfectly.


When I reassembled the planer, I discovered the blades could be flipped around to reveal complementary, unused, razor-sharp edges. This was a huge relief for me because this little planer has been the hardest working tool in my shop (besides me) and I didn't want to junk it just yet.

Once I get the stretcher planks planed down tonight, I'll cut them to size and tenon each end of them using a nifty, old table saw tenoning jig loaned to me by Random Roger Green.


I just cannot imagine how this project would have gone without Random's help, insight, and encouragement. Thank you again, Roger!

Until next time...

Saturday, April 9, 2016

Project Update: Massively Massive Tearout

As I completed the cleanup of the leg number four kerfing, I drove the chisel too far into the "other side" and basically ruined the top of the bench by creating massive, unnecessary tearout. This happened because, in my zeal to get that final mortise completed and out of my life forever, I disregarded Random Roger Green's advice: work one side at a time. This means chiseling and cleaning up the first two inches of the top before flipping the slab over and working the remaining two inches of the bottom. I got carried away and worked the chisel from the bottom through the top and created three HUGE chunks of tearout.

Fortunately, I was able to sift through the detritus on the floor and find the pieces I could glue back to repair the damage. This was a good lesson for me. Slow down, listen to the voice(s) of wisdom (thanks, Random), and proceed slowly and carefully, especially when working on something that will be visible in the end product.

The result:


By the time I remove the tape later today, the tearout will be virtually invisible. The lesson learned will not.

I next turned to the legs. During our last meeting, Random Rog told me I could go ahead and cut the legs to length. Of course, it's too early to mount them - I still need to cut the lower shelf stretcher mortises into them. Because my final desired leg height is 31", I went ahead and set up cut lines 27" from the tenon notches in their tops.


I then broke out the chop saw and went to town.


This illustrates another advantage of using 4x6s for the legs. I could not have made this cut if I had used 6x6s.

The next step is to set out the cut lines and start drilling/chiseling out those shelf stretchers. I also need to settle on wood for the stretchers and shelf pieces. Random is recommending alder, but Chris Schwarz uses pine on his smaller bench example. Needless to say, the cost for a piece of 8/4 pine will be less than alder, but I'd rather do this one right.

So many experts, so little time.

Until next time...

Friday, April 8, 2016

Project Update: Top Mortises Almost Complete

I keep chugging away at those bench top mortises. Since I started kerfing them, it's not been quite as big a challenge as the first one. The photos below illustrate my progress from number two to nearly completing number four.


This is the second one in the photo above and the two below. As you can see, I drilled several holes and then cut a small divot around the entire cut line to prevent tearout (or runout as my British friends say). Then, it was on to kerfing with the jig saw.


And then a simple matter of knocking the kerfs out with a chisel and smoothing a bit.


Once it was completed, I knocked out the third.


And then on to the fourth.


I'll have this last one smoothed down tonight. Once these are completed, I'll start mortising the legs for the runners that will hold the lower shelving for my hand planes. I'll be hitting Crosscut Hardwoods to pick up some Alder this afternoon because, you know, it's "the woodworker's candy store." I'll be able to get started on tenoning and mortising things up (again) late Sunday or Monday.

I have another busy weekend ahead smoking a brisket, some babybacks and sausage (a full-time job on my old offset barrel smoker) and a trip up and back to Seattle on Sunday, so I'm not sure how much progress I'll make. Thank goodness for Monday so I can rest and get back to work in the shop.

Until then...

Tuesday, April 5, 2016

Project Update: Making Square Holes

After working so hard on the first rectangular mortise, I decided to actually listen to Random Roger Green and move forward with the kerfing approach I mentioned in my last post. The first step in this approach is to drill holes large enough for a jig saw blade.


For this task, I switched from the Forstner bit to a brad point bit. It's important that the holes meet from both sides; that way, the jig saw blade has enough freedom of movement to not bind or break the blade. Once I got both sides drilled, I cut a rough hole and then cut kerf lines from the hole to the outlines of the mortise.


This looks pretty funky, but it was easy to do and quite effective in helping me move along at a much faster pace. The photo below illustrates about ten minutes of work with a 1/2" chisel.


When cutting the small sides, I am effectively cutting end grain, which is really quite difficult to do. But, if that's the hardest part of this approach, I'll take it. Speed and accuracy are of the essence now, so I can get back to this:


On a completely unrelated note, Mark Roberts of Mark Roberts Guitars and Ukuleles recently posted an interesting hack on his Facebook page regarding the use of a little IKEA light for one of his band saws. If you've ever used a band saw, you know that lighting is a constant challenge. So, I followed Mark's lead and purchased two IKEA JANSJÖ LED lamps with clips on the ends, rather than a base. They're lensed, which means the light both spreads and focuses as you move it around and they work great for both of the band saws.


Total savings: $150. Thanks, Mark.

Until next time...

Monday, April 4, 2016

Project Update: The Mortising Continues

Last week, I got the third...


and fourth...


dovetail mortises completed. I can now see why hardwoods are much sought after bench materials. This fir is so soft and tears out so easily it's been pretty difficult to get straight joints worked up. It can be quite frustrating, but, as my friend, the Dutch Luthier (Jan van Capelle), reminded me: I can swell gaps and goofiness up a little later with some well-placed water droplets.

You can see the result of cutting out a single mortise in the photo below. It is, as I like to say, all in a day's work.


Once I was reasonably satisfied with my work on the dovetails, it was time to work on the rectangular mortises. First, I drilled a few holes on both sides using a Forstner bit.


I started on the bottom and finished on the top. In hindsight, I probably should have used a smaller bit and finished up with a jig saw to cut finer lines from the holes to the sides, you know, as Random Roger Green recommended. This is basically kerfing that would have allowed me to work the chisel using the jig saw cuts as index lines and it would have split the pieces that needed to be cut into finer, straighter chunks.

Like anything in the woodworking world, there are as many ways to cut mortises as there are woodworkers. As I say about harpsichord builders, ask ten woodworkers for advice and you'll get twelve good, solid answers.

Oddly, I didn't take any progress photos while trimming out the first rectangular hole. I took one when I was finished for the day; fatigue had started to set in and I was becoming sloppy.


As you can see, I still have a little cleanup and straightening to do. One thing I'm learning about working in the shop is to discern when enough is enough. I had been enlisted on Saturday to smoke some meat for a friend's meatfest gathering and I made the faulty decision to work on the hole after cooking for six hours and joining in the meatfestivities. This was a choice for which I am still paying with a fair amount of pain and suffering. The great irony in all of this is that I'm currently working on a book and videos for woodworkers about stretching, planning, scheduling, knowing when enough is enough, etc.

I guess it's time to start walking my talk.

Until next time...

Friday, April 1, 2016

Project Update: Cutting the Leg Dovetail Mortises

Once the leg tenons were done, I could start the exacting process of lining out the leg mortises and cutting them. After a lengthy discussion with Random Roger Green, we decided that the left side legs would be placed twelve inches in from the left side of the bench. The right would be eighteen inches in from the right side. The first thing I did was draw reference lines.


The line on the left side is a center point for the leg and the right one will meet up with the right side of the leg. You can see in the photo immediately above that the right side line interferes with a nice, little knot. This prompted a management decision. I moved the line to 17 1/4" so the mortise would take out 99% of the knot (I know the measuring stick says 19+ inches - this line was to give me some idea of how to place the mortise). I then placed the leg tenons onto the bench top and drew them on for each mortise. This is done because every mortise, no matter how skilled the woodworker, is going to be, let's say, unique in its own way. Drawing them captures these unique qualities.


I discovered something interesting when transferring the drawings to the reverse of the bench top: I simply drew index lines down the sides of the top and matched those up with the tenons. This worked perfectly - for me. Random Rog would probably look askance at this, but he wasn't there, so I had to do what I had to do. And it worked out just fine.

The next step was to cut the angles with a hand saw. Now, you know from my previous posts that I'm not exactly the handiest guy with the back saw. In my defense, the saw that gave me the most trouble was Random's big, heavy back saw. I just could not control it well enough to get a straight cut. This is partly due to the Carpal Tunnel Syndrome surgery I had a few years ago that significantly affected my poor, old hands; they become swollen and fatigued quickly these days.

What I ended up using was one of Random's little 14 tpi (teeth per inch) carcass saws, which is intended for crosscutting. It's light and easy to use and I was able to cut the angles with patience and a light touch, which was actually kinda pleasurable in its own way.

Another lesson Random Rog taught me is to use a good, sturdy clamp as a handle to turn the top for working the various sides and angles. Random was kind enough to loan me a beautiful Bessey clamp, but it ended up being too long for my purposes, so I just used one of my Rockler aluminum beauties.


Like most things Roger teaches me, this works remarkably well. There's something about the leverage the handle provides that makes flipping the monster (I estimate it's about 350-400 pounds) easy, even for a guy with a bad back and swollen hands.

Once I got the thing on its side, I could start cutting the angles. The next three photos illustrate the line drawings around the right side knot and how I hogged out the negative space with a chisel.


As I was working on it, I sent a message to my wife, Tonya, that I'm now embroiled in an increasingly torrid love affair with a 1/2" chisel from Germany. She was unmoved.

From this point on, it was just chiseling and shaving and straightening until the mortises were done.


Once I have the four dovetails completed, I'll start their rectangular siblings. Given my schedule, I anticipate I'll have all completed by the end of the coming week.

Until next time...