Thursday, May 28, 2015

Day 88: Preparing to Cut the Form Sides

I have not yet notched the clamping crossbeams, but I decided to start laying out the cuts for the lamination form sides. It's a funky cut in several ways, but can easily be accomplished with a jig saw. Once I cut one side and get it sanded down, I will cut the other about 1/16" outside the cut line and then use a router bit to trim it to the exact size of the first one. I'll detail this with photos when I begin the process.


I know I'm jumping around a bit, but I'm deciding about how to handle the notch cuts on the clamping crossbeams. I'll most likely make two passes with a dado blade on the table saw using the crosscut sled. The measuring tapes on the sled will be invaluable for these cuts. Okay, the next step will be to cut the notches; then, I can get back to cutting, sanding and routing the sides.

Making a decision to not decide and then to decide makes me warm and fuzzy inside.

Until next time...

Tuesday, May 26, 2015

Day 87: The Lamination Form

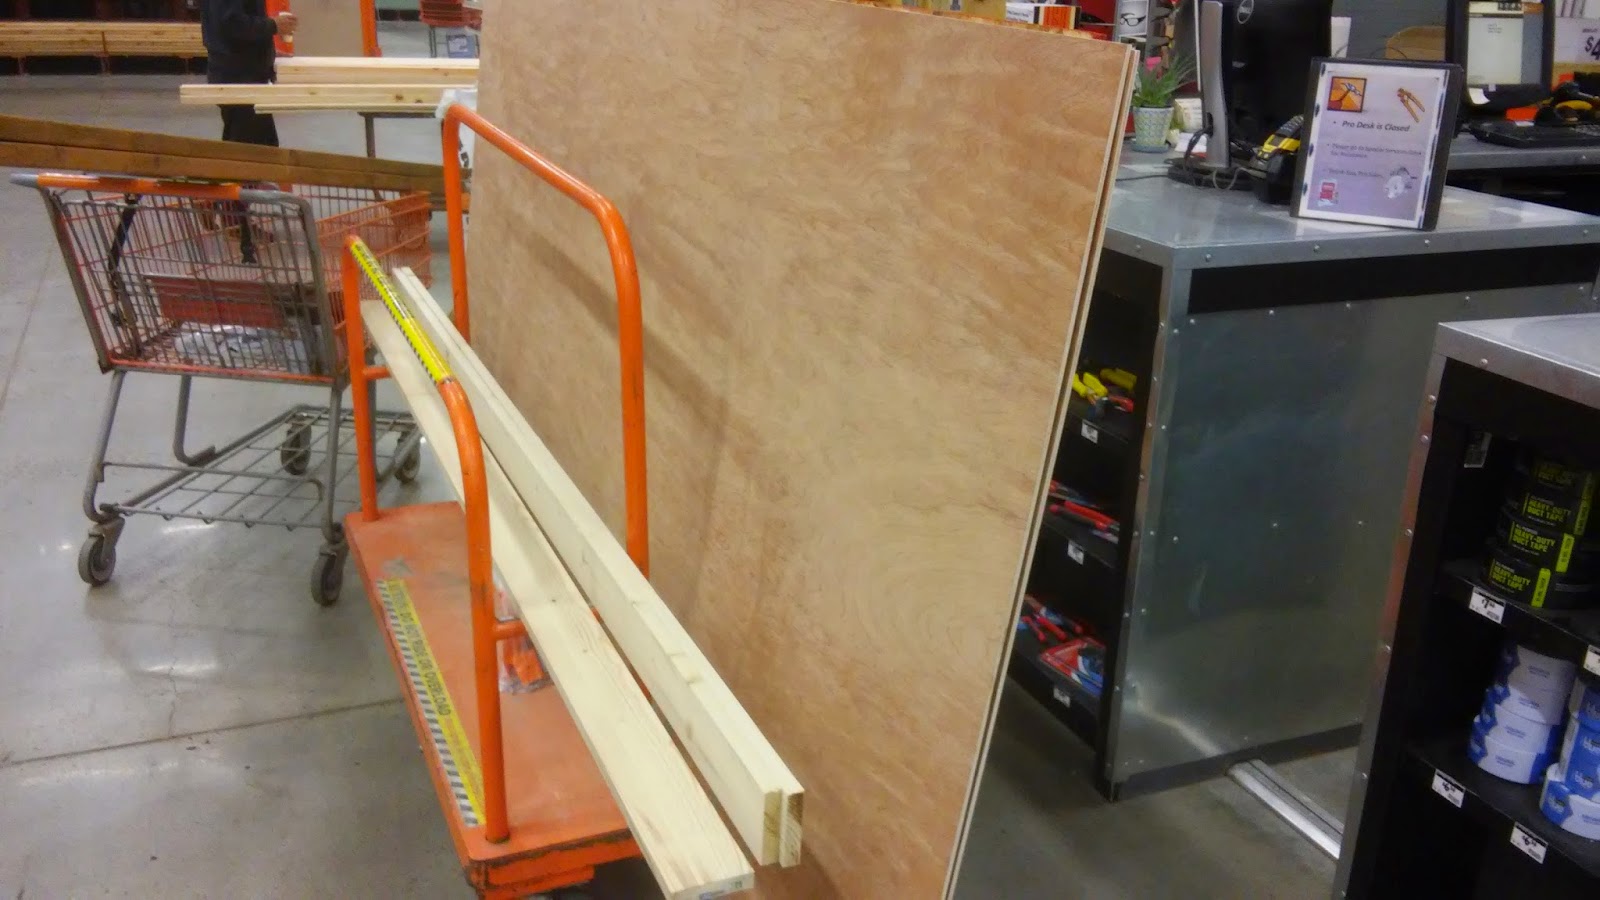
I was able to make some pretty good progress on the bentside lamination form over the weekend. I purchased the supplies needed to complete the form: one 4'x8' piece of 9/16" chipboard, two 4'x8' pieces of 1/4" plywood, two 1"x4"x8' pieces of "whitewood" (not exactly sure what this is - it's a lot like pine) and all of the bolts, washers and wingnuts necessary to complete the form.


Once I got everything back to the shop, I spent the day preparing the crossbraces and clamp parts by cutting them to size and ensuring the holes in the side clamp pieces (the little oak pieces in the bottom photo below) were drilled to 5/16" diameter to accommodate the 1/4" bolts I purchased.


The only thing left to do on the crossbeam clamp parts is to slot each end for the bolts. You'll see more on this when I begin assembling all of the parts and pieces in an upcoming post.

I was able to complete a couple of other tasks that have been nagging at me, as well. First, I worked up a new throat plate for Big Bertha (the 18" band saw) to replace the aluminum one that had been destroyed in a mishap a few weeks ago. A buddy was slicing up some applewood and accidentally drove the throat place into the blade, destroying both.

And therein lies the silver lining.

I had purchased a 1" Timberwolf blade for resawing because, well, a bigger blade is better, right? Not necessarily. The blade was so wide that it covered too much of the tire, creating an annoying wobble of the blade. It was quite demoralizing until the mishap. This time around, I switched to a 1/2" Highland Woodworking Wood Slicer blade and moved it forward on the tire and...voila! No more wobble. It also cuts quicker and cleaner than the Timberwolf, so two lessons learned.

The new blade worked so well, I went ahead and sliced up some of the scrap walnut I picked up from the FREE box in front of Goby Walnut and Western Hardwoods and used it for Big Bertha's new throat plate.


Hey, if I drive this one into the blade, what's the worst that can happen, right?

The other overdue project was prompted by the small lamination form cuts I needed to make: a new table saw crosscut sled. I've mentioned another one I made in a previous post, but, somehow, I constructed it with a .5mm offset so that every cut was off by just enough to notice it. Not good. With this one, rather than mount a metal miter guide to the bottom and hope I could get the holes drilled properly, I simply glued a 3/4" strip of wood to the bottom. This allowed me to control the placement of the strip with greater accuracy.


Once the glue set, I ran the sled through the table saw and checked it for accuracy using a square.


It cuts at a perfect 90-degree angle. What a relief. I also slapped on a couple of sticky-backed measuring tapes to keep me honest.


Once I had everything in place with the sled, I went ahead and cut the cross pieces in the second photo above. The nice thing about a crosscut sled is that you can rip smaller pieces, as well, and your fingies and other related body parts remain perfectly safe. The sled also prevents kickbacks because, as you know, it's safety first at Tortuga Early Instruments Worldwide Headquarters!

Until next time...

Saturday, May 16, 2015

Day 86: Lamination It Is

After visiting master harpsichord builder Paul Irvin's shop last weekend, I've made a management decision: to go with laminated sides for this first instrument. Sure, I'd love to bend the sides with a huge steam box or bending tool, I just don't have the room or the power in the shop to make this happen. Paul also described how he's experienced "cupping" when he's attempted bending in the past. This happens when the bent wood curls in from the width (sides), rather than the length.

Given the fact that I don't have 220v in the shop, the potential for cupping, and the fact that I want to get on with things, I've decided to go ahead and laminate the sides for this instrument. Besides, I'm keeping this one and there is precious little chance anyone is going to order an instrument from me based on whether I laminated its sides or not. In fact, there's precious little chance anyone will order an instrument from me. Ever. According to Mr. Miller's eBook Most Excellent, the first step in the lamination process is to construct the form. Yes, there is a little bending involved, but they're really thin sheets. The photo below illstrates part of that form.


These are mounted to the sides of the form and hold the cross members that keep the lamination sheets under control. The photo below is from Mr. Miller's eBook Most Excellent and more clearly illustrates what I'm trying to describe.

Photo courtesy of The Harpsichord Project eBook 3.1 by Ernest Miller
The parts in the first photo above are the small blocks on the sides in the second photo above. Now that they are all cut and drilled, I can begin preparing the cross members and all of the other pieces necessary to get this thing completed. I'll also spend some time gathering the bolts, nuts and clamps you see in the photo.

In my ongoing efforts at improving the shop with tools and accessories, I acquired three new gadgets this past week. The first is Boeshield T-9 protectant for the table saw. Okay, it's not exactly a gadget, but it is something I'll continue to use for the rest of my shop days. Boeshield T-9 was developed by The Boeing Company as a metal protectant for highly corrosive environments. The table saw top is extremely sensitive to moisture and rusts if I look at it sideways. The T-9 will prevent this from happening in the future. One of the ingredients is paraffin wax, so it will help with pushing lots of wood though the machine, as well.


Another improvement is a "bench hook" first described to me by Jan van Capelle, a master luthier located in Holland. I whipped this little gadget together from shop scraps; it essentially acts as a brace for small tasks such as carving, chiseling and otherwise creating wood shavings.


In the second photo above, I'm carving the notch that holds a passive pickup for a little electric cello project I'm completing for my youngest son, Reed. This tool was great at holding the cello body fast while I carved away with a 1/2" chisel. I expect to use it a lot more in the future.

Finally, I welcomed a new Stanley family member to the fold last week.


When I head out to Sandy to see my kids, I occasionally stop at an antique/junk/auction shop in Orient. From time to time, they have hand planes in various states of disrepair. The one above is not in bad shape at all and only cost $15 - I had to pass on a couple others that were more expensive and rusted beyond repair. I'm not sure if the new member is a 3 or 4. It's fairly new, yet still of high quality. I look forward to cleaning it up and putting it to work soon.

Until next time...

Wednesday, May 6, 2015

Project Update: A New Zero-clearance Throat Insert

Because I've been ill and cleaning and working on birthday gifts and friend projects, I've gotten just about as much done with regard to the instrument in the last couple of months as I did over the holidays - i.e., precisely nothing. I have, though, organized the shop (again), purchased a new table saw, built a large assembly table and planned for great things; yet a wise person once said, "All the planning in the world does not a completed project make." Indeed.

So, in keeping with my theme of making no progress on the instrument, I've been working on a friend project that requires me to rip some thin strips of cedar. I love my new table saw. I really do. But the throat inserts that came with it are just one step above completely useless. The inserts do not sit flush with the table so that any wood I'm pushing through drops down a couple of millimeters and the mounting screws stick up above the plates so that the wood catches on them. Useless.

A zero-clearance throat insert is intended to help manage thin rip cuts on the table saw, and I may leave it in place for good, or at least until I need to make any angled cuts. The first photo below displays the regular (red) insert that I use for most cuts (until I build or purchase another). You can see how it offers a somewhat large space where the blade protudes from the bottom of the saw. If I were cutting, say, the 1/16" thick laminates for the sharps on a keyboard, they would fall right through the red insert into the saw, or worse, kick back into my precious body. A zero-clearance insert mitigates against this, making the Tortuga Early Instruments Worldwide Headquarters a safer place because, as you know, it's safety first for the Tortuga.

Given the awkwardness of the current set of inserts, I was hesitant to purchase a zero-clearance version from Grizzly. I also did not have the bandwidth or timing for a trip to Woodcraft, Rockler or Woodcrafters, so I decided to use a piece of the scrap walnut I picked up from the FREE bin outside of Goby Walnut and Hardwoods. I resawed the piece on Little Buddy (the Delta 12" band saw) and planed it down until it was just right (about 10mm). I then finished it with two coats of Tru-Oil. The photos below document the process. The "fun" part was pushing the blade up and through the insert while the saw was running.


It really is a thing of utilitarian beauty and only took me about a half hour to create (my time is entirely worth it - at this time). Granted, a quick $25 spent at one of the supply stores would have solved this "problem," yet I needed to make something again. It was wonderful to be back in a creative space where I was making without a plan and hoping for the best. As you can see, my hopes and dreams were fulfilled.

On an unrelated matter: I've got a line on a large piece of pipe to build a bentside bending tool. My dude hasn't yet delivered, but he says they're cutting the pipe this week and I'm welcomed to any leftover they may produce, I just hope it's long enough. I may also ask him for some design and welding help with the final bender setup - they build trailers, so they've forgotten more about welding than I currently know, which isn't much. Hopefully, I'll have the bender put together in the next month so I can get to that bentside and get on with completing this thing.

Until next time...

Monday, May 4, 2015

Project Update: Cleaning for a Visit

I'm still recovering a bit from the various illnesses, though I was able to make some progress on getting things organized over the weekend. I had offered a couple of months ago to open up Tortuga Early Instruments Worldwide Headquarters to the Guild of Oregon Woodworkers members on this last weekend and it kind of snuck up on me. Okay, it totally snuck up on me. I worked my rear-end off on Friday and early Saturday to get it into shape, which was good because I did have visits. The one remark I appreciated when I apologized for not having it 100% was, "Hey, it's a shop."

Before
After

I know, it doesn't look that much different before than after, but it is. I cleared out a place to put the new toolbox and started transferring tools and small wood pieces to it, put the jointer up on a mobile base I had purchased for it months ago, and got rid of stuff to Goodwill that I hadn't touched in over a year. It is cleaner. It really, really is. I promise.


As you can see in the photo above, I was able to get the assembly table crossbeams installed on Friday, making the table much more stable. I had intended to route out and install t-tracks into the table to accept the miter guage from the table saw. One of the GOW dudes who showed up simply said, "Why don't you just put the saw on some plywood? The point of the outfeed function is to catch the wood, right? And the chances of you perfectly aligning the tracks are pretty small." Duh. So, I decided to go ahead and order up a mobile base from Grizzly for the table saw; it will elevate the saw sufficiently while making it much easier to move the beast around.

Finally, I still have a couple of projects to complete before getting back to the instrument. The electric cello for my son still awaits, as do a couple of friend projects. Oh, and I have a line on some pipe that will be sufficiently large for the bentside bending tool - more on this later.

Until next time...