Wednesday, May 23, 2018

Day 174: Making Room and Holding Space

As I mentioned in previous posts, I recently acquired a CNC (Computer Numerical Control) cutter/router. It's an amazing tool that I've already used to great effect. I made space for it when I knew it was coming to Tortuga Early Instruments Worldwide Headquarters, but I failed to completely understand just how big the thing would be. It's big. Like 48" x 48" big. I had it sitting on the assembly table for the better part of two months and, when it came time to get back to working on the instrument soundboard, found myself in this predicament:


You can see my dilemma. Now, my good friend and building mentor, Owen Daly, was about ready to break a foot off in my ass because he had asked for string speaking lengths for all Cs and Fs between the eight foot nut and bridge and it appeared I was making excuses for not sending him the data. I had not sent it because I was fed up with the lack of space. The shop is already small enough, you know? So, I did what I always do - I engaged Cheapest Guy Alive Mode and jumped onto Craigslist.

Within minutes, I found what I was seeking: large pallets I could take apart and use to build a stand for the CNC. And they were right up the street. And they were yuuge, like three feet by six feet with 2 x 8s running their lengths. This was a major score and I was able to fit them all into my beloved KIA Soul with the help of my lovely wife. After nearly an entire day of cutting, cutting, cutting, fitting, and screwing, I managed to create this:


It's a little tight between the new stand and the end of the Roubo, but you make do with what you've got, right? Besides, I can just swivel the seat around and use the drill press table to my left as a computer stand when running the machine. So, mission accomplished. And I reclaimed my entire assembly table.


I feel like I'm working on a football field and I like it. Now, back to the soundboard.

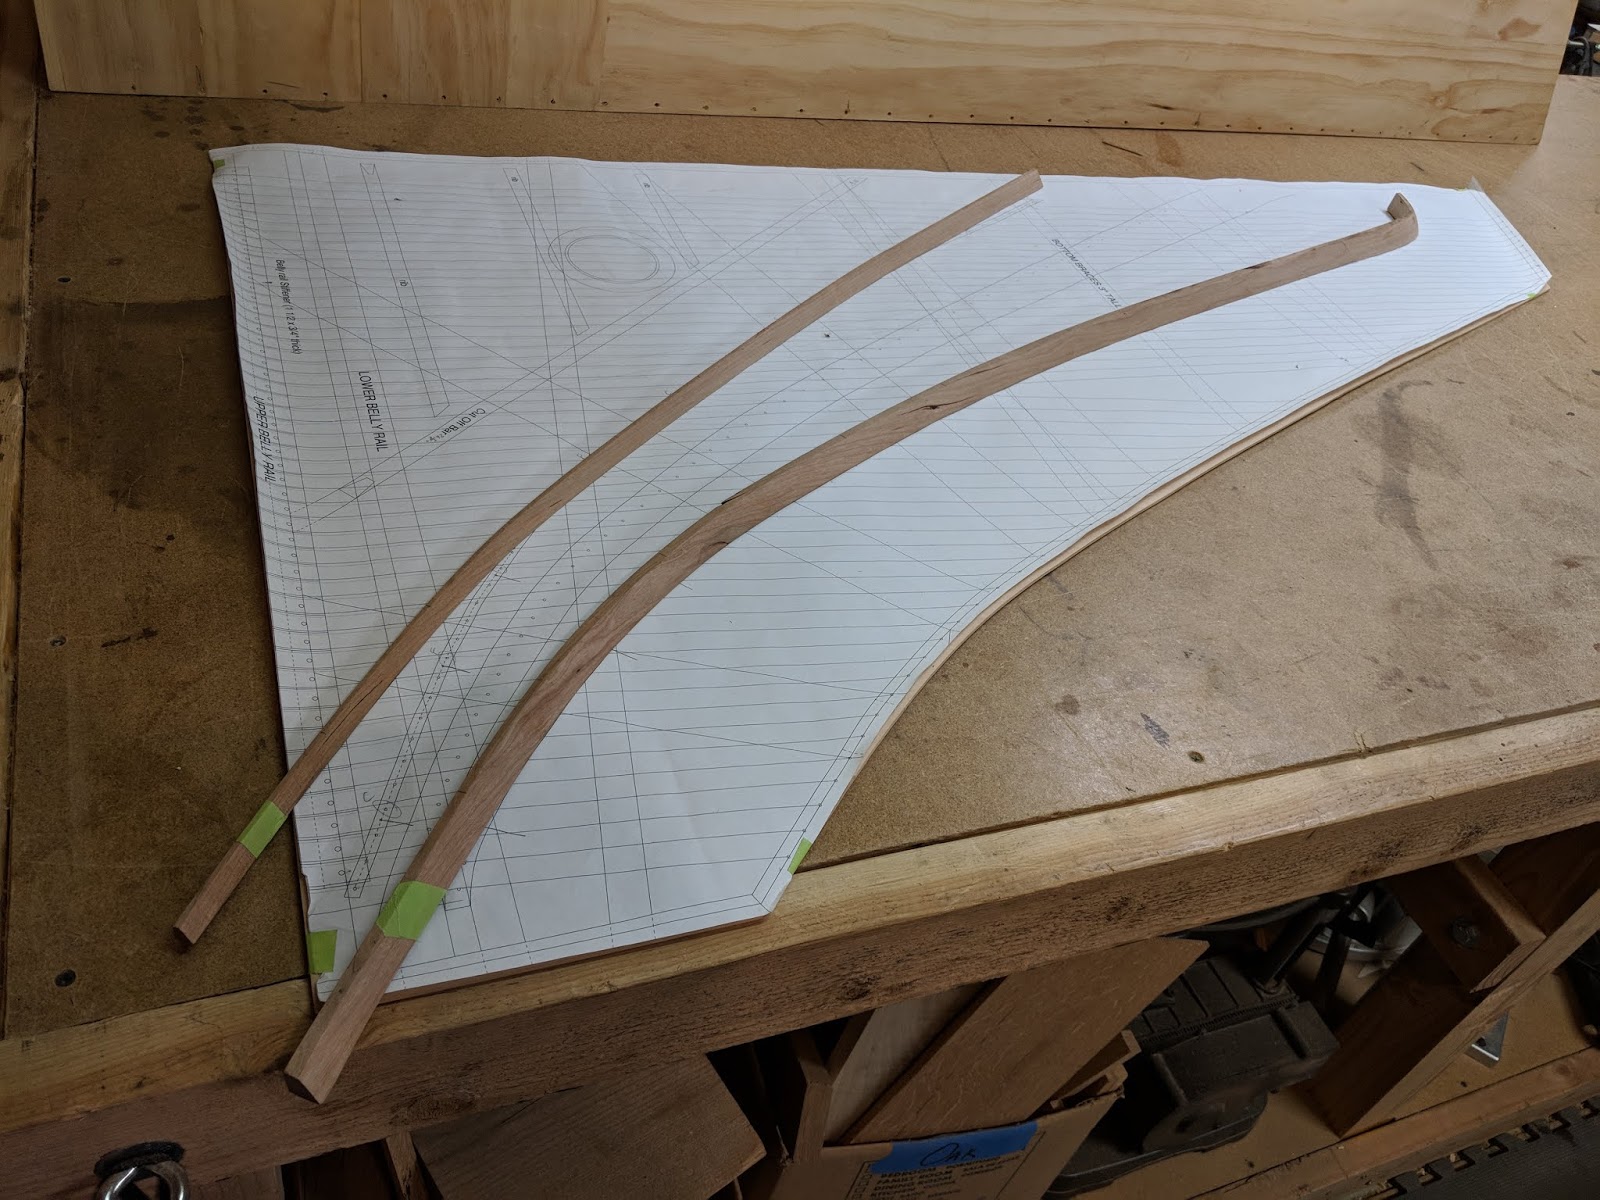
The first thing I did with the soundboard was to fit the plan to it using the parameters supplied by Mr. Miller in his eBook Most Excellent. Once that was completed, I spoke with both Mr. Miller and Owen about fitting the bridges. I'm going to end up drilling holes near the Cs and Fs between strings and use these as alignment points with small nails. Yep - I'm drilling through the bridges into the sounboard and nailing them all to the assembly table.


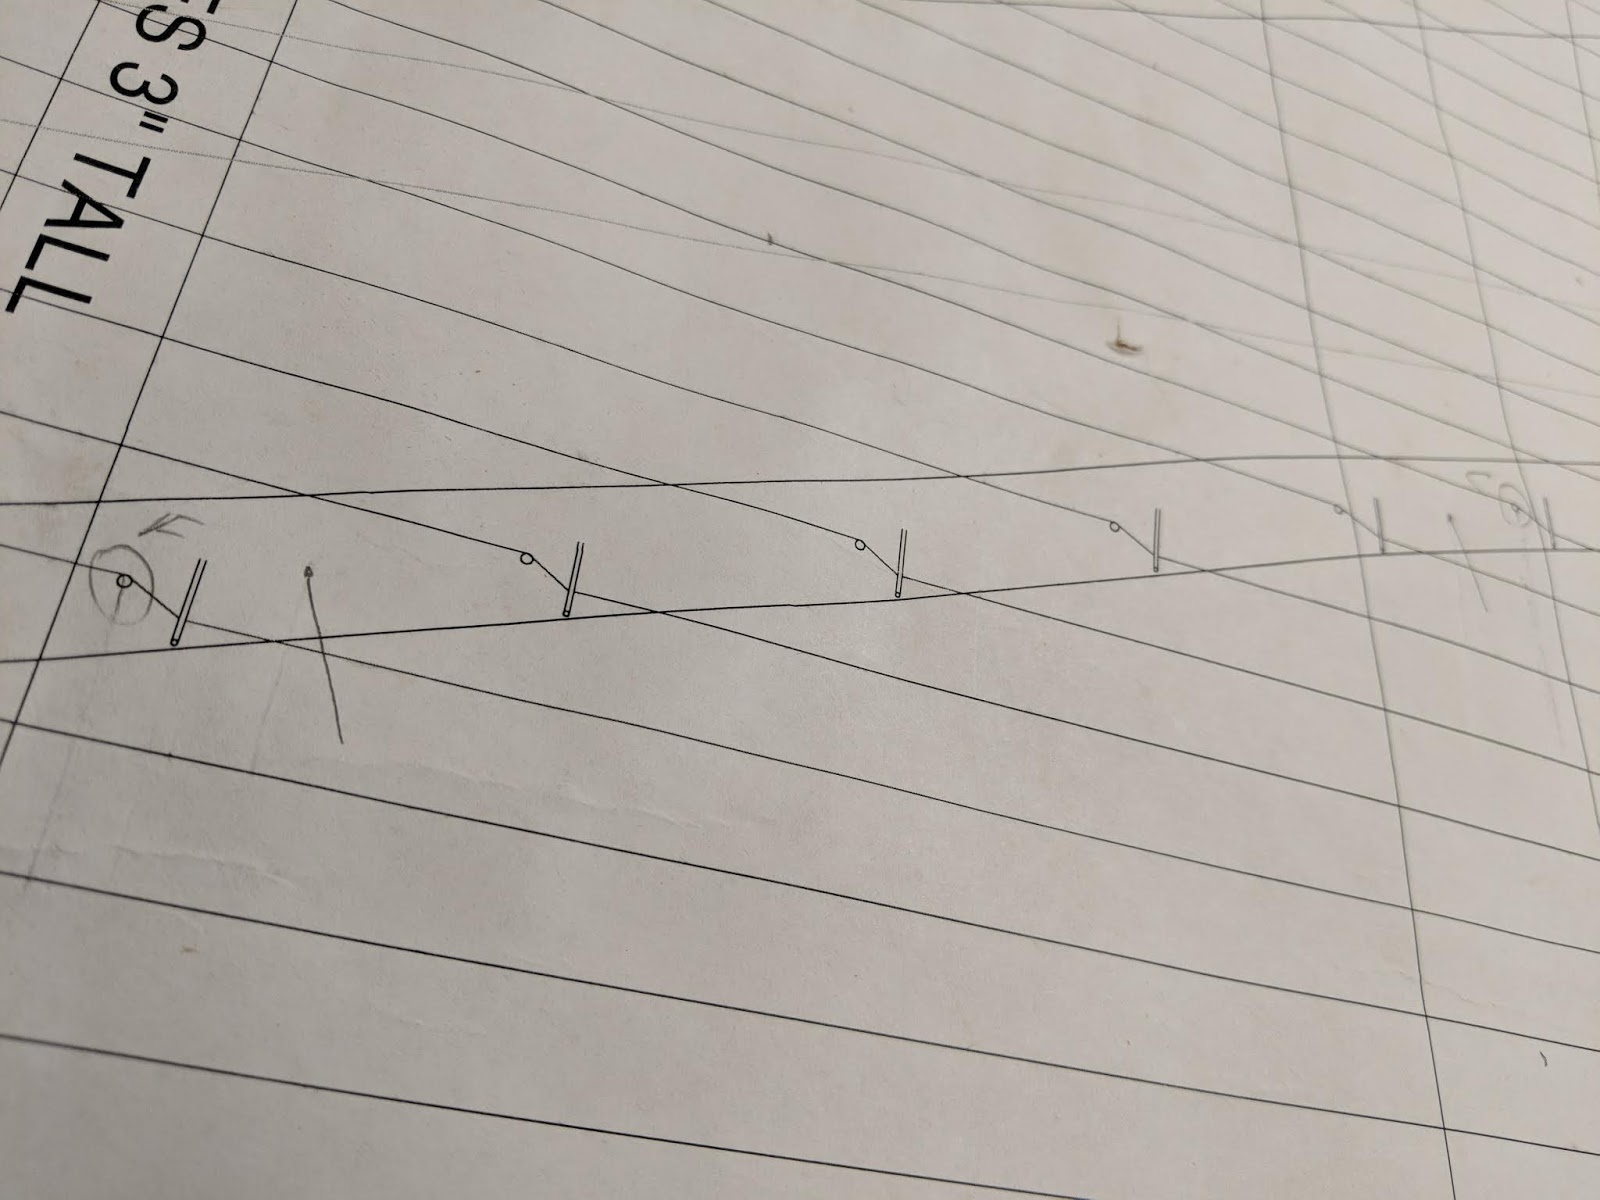
I'm currently taking my time getting things lined up properly because, honestly, the thought of doing this makes my poor, old stomach hurt. But it must be done. I'm hoping to have everything solid within a couple of days.


As I thought about gluing the bridges to the soundboard, I realized I would need cauls for the glue-up procedure. A caul is simply a fitted piece of wood that sits between the subject of the glue-up and whatever you're using for clamping (in my case, it will be go bars) and spreads the clamping pressure across more of the subject piece. So, I started to make cauls in two pieces given the fact that one side would need to be cut at a 30-degree angle to fit on the bridges properly.


I'll have enough to clamp and glue both the eight and four foot bridges.

On a couple of tangentially-related notes, I was able to attend the Western Early Keyboard Association (WEKA) Spring Soiree this past weekend. Several performers, including Owen Daly, entertained us on instruments made by Owen and Paul Irvin, both master builders. It was a wonderful time with like-minded people and I look forward to the next gathering.

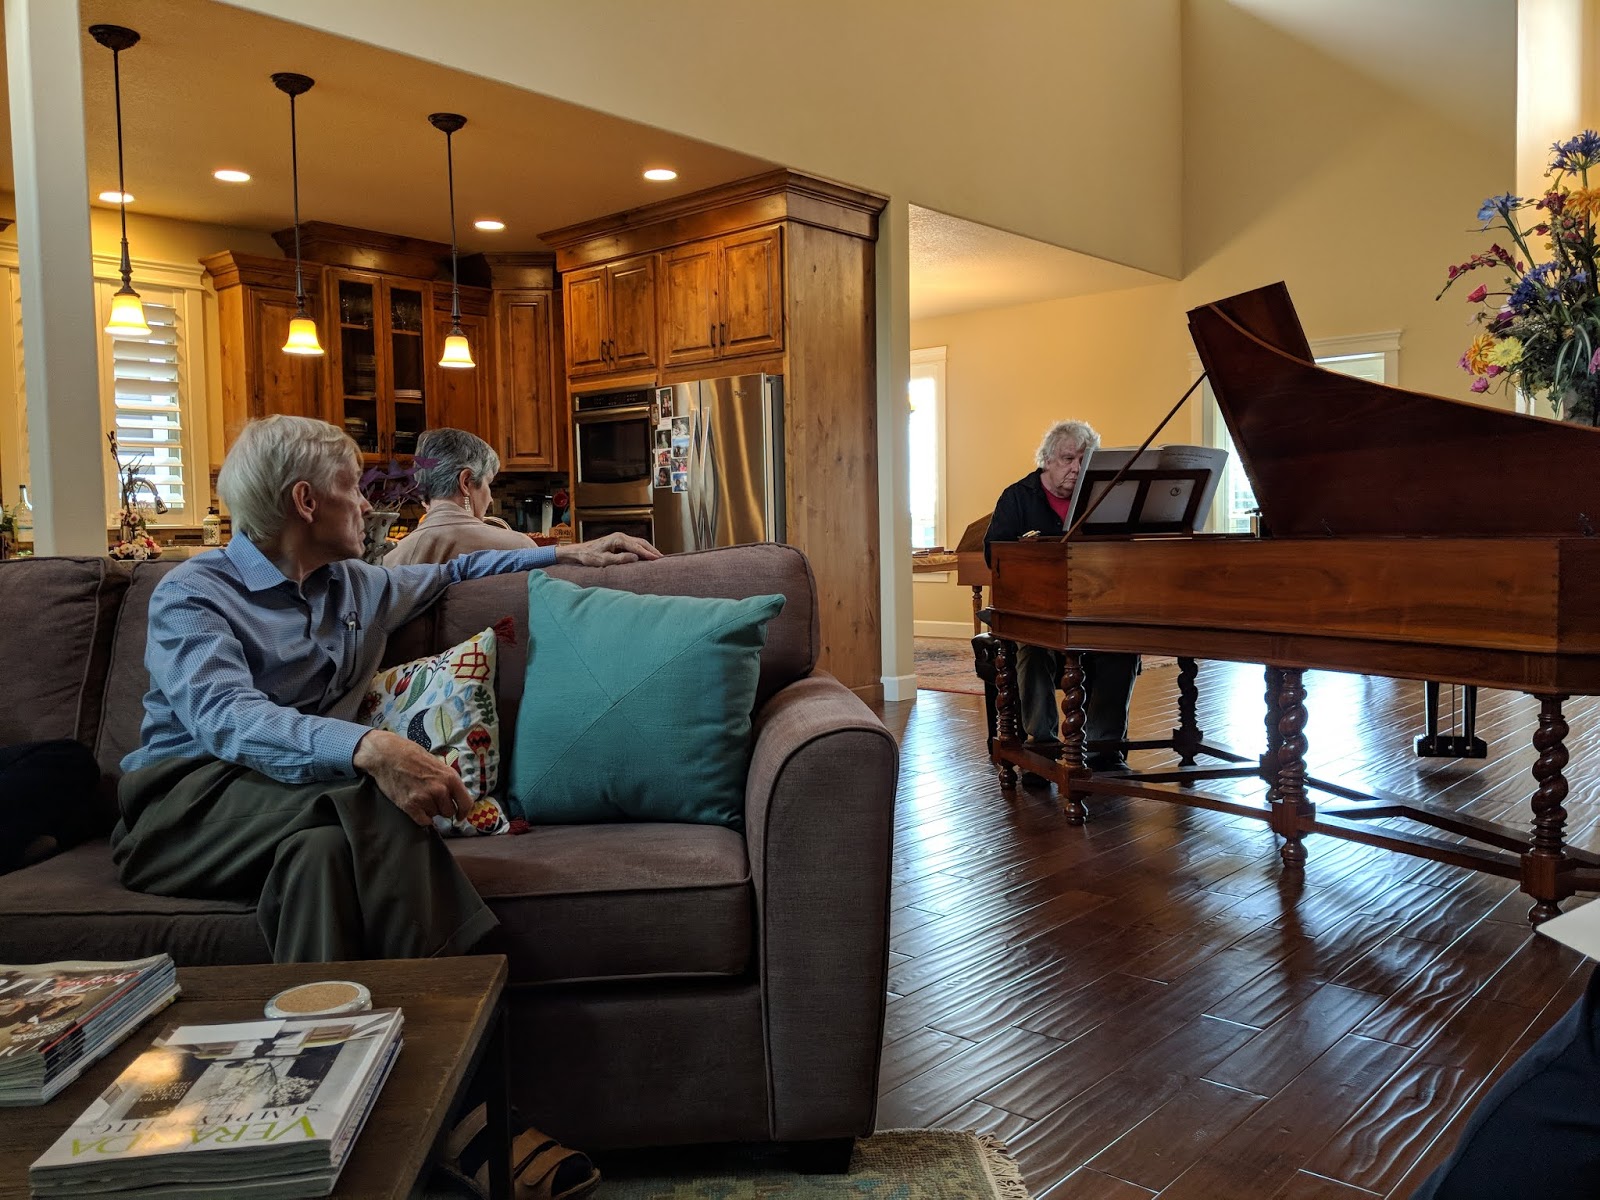
Owen is playing his Vaudry copy while Paul looks on

And, finally, I must give honorable mention to another shop improvement: Roubo bench tenon plugs. I know what you're thinking: "Whada?" Well, when I cut the mortises for the bench, I did a pretty horrible job until I discovered a way to cut them that resulted in minimal tearout, which happens a lot with a laminated spruce beam. Naturally, I discovered this on the last mortise, so the other three were pretty rough.

One day not long ago, my friend, John Finn, said, "Hey, why don't we just plug those tenons?" The voice of experience always rules the day at Tortuga Early Instruments, so I took him up on the offer to help. A couple of days ago, he showed up with a template, a plunge router, and clamps - I made and served breakfast. A couple of hours later, all four tenons looked like this:


An amazing transformation. Two or three coats of Watco Clear Danish Oil and all will be well. Did I really need to do this? Heck no. But, sometimes, the better part of valor is attending to appearances. Thank you, John. I couldn't have done it without your help and guidance.

Until next time...

Monday, May 14, 2018

Day 173: Pulling Out the Big Gun

I've gotten quite a lot accomplished since my last post; unfortunately, most of it has been related to climbing the learning curve on some CAD/CAM design software I'll be presenting in the next few weeks. In the meantime, I ended up finishing the eight foot bridge. I did not use a band saw, which I know would have been quicker, but I really did enjoy the process I chose: Drawknife and spokeshave work. Initially, I started with the spokeshave.


I quickly realized I would need to take off more meat with every stroke, so I pulled out the Big Gun.


With a little support from Mssr. Roubo.


Things went swimmingly until...


I was done.


Just look at that hook.


While I found cherry much harder to work with than beech, I can see how it might help produce a more pleasant, ringing tone. The physics behind tonewoods and how they can amplify (or dampen!) the acoustical output of an instrument are well know, so I won't belabor them here. Suffice it to say, a wood that's more "plastic" without some brittleness (for lack of a better term) might not be the best choice for a soundboard. In this case, cherry is the better choice for the bridges.

While working on the eight-footer, I managed to also mostly complete the four foot hitchpin rail, just need to finish sanding the sides to even things up a bit.


This piece will be glued to the reverse as opposed to the obverse, which will get the bridges, of the soundboard, as will the cutoff bar and ribs. I'm preparing the blanks for those in the photos below and will continue to work on them throughout the week.


Until next time...

Tuesday, May 1, 2018

Day 172: Getting the Eight-Footer Locked Down

The four foot bridge has been steamed, bent, spokeshaved, and otherwise prepared for installation (still need to cut to length, but I'm not a detail guy). The eight foot is another matter entirely. When comparing it against the plan, the angle was not as acute as it needed to be. As I was testing it against the form, I heard a loud CRACK and you'll never guess what happened. Yep, this:


Just a scratch, right? So, it was back to the drawing, or steaming, board as it were. One thing I should call out is how to read wood. In this case, I had bent the thing with the flat sawn part of the piece on top. This created an akward bend that resulted in the break. Granted, I probably could have made it work, but I paid closer attention on the second bend and faced the quarter sawn side face up. Though I did this, I still didn't achieve the angle required by the plan, so it was back into the steamer and form. Again.


Only this time, I used the four foot part of the bending form because it would allow me to overbend the stick to account for springback, something that's pretty common when bending wood, especially material that's been kiln dried; it just wants to go back to its original shape when removed from the form.


As you can see, the bend is sharper. A little TOO sharp, perhaps?


Nope, it fit the plan spectacularly well. Time for a celebratory adult beverage. Oh, wait, what's that? Why, it's a pitch pocket in the worst possible location.


Given the fact this side will get a small bevel, I knew I would be spokeshaving most, if not all, of the pocket away, but decided to check with master builder Owen Daly just to be sure. Fortunately, Owen said it's not a show-stopper and that there are a couple of ways to handle it if and when necessary. Based on this information, two things then occurred: 1) Happy dance and 2) Preparation for tacking on the bass hook I had cut a little earlier.


I taped the pieces together, drew a slanted line, and cut them on the band saw. When I checked the joint, it was good enough for government work, so I glued it up.


And now we wait until tomorrow to trim things down. In the meantime, I turn my attention to the four foot hitchpin rail that will be mounted to the underside of the soundboard. This one is made from poplar and will be cut to size - no bending involved (thank the Good Lord Above).

Until next time...