

The line on the left side is a center point for the leg and the right one will meet up with the right side of the leg. You can see in the photo immediately above that the right side line interferes with a nice, little knot. This prompted a management decision. I moved the line to 17 1/4" so the mortise would take out 99% of the knot (I know the measuring stick says 19+ inches - this line was to give me some idea of how to place the mortise). I then placed the leg tenons onto the bench top and drew them on for each mortise. This is done because every mortise, no matter how skilled the woodworker, is going to be, let's say, unique in its own way. Drawing them captures these unique qualities.

I discovered something interesting when transferring the drawings to the reverse of the bench top: I simply drew index lines down the sides of the top and matched those up with the tenons. This worked perfectly - for me. Random Rog would probably look askance at this, but he wasn't there, so I had to do what I had to do. And it worked out just fine.
The next step was to cut the angles with a hand saw. Now, you know from my previous posts that I'm not exactly the handiest guy with the back saw. In my defense, the saw that gave me the most trouble was Random's big, heavy back saw. I just could not control it well enough to get a straight cut. This is partly due to the Carpal Tunnel Syndrome surgery I had a few years ago that significantly affected my poor, old hands; they become swollen and fatigued quickly these days.
What I ended up using was one of Random's little 14 tpi (teeth per inch) carcass saws, which is intended for crosscutting. It's light and easy to use and I was able to cut the angles with patience and a light touch, which was actually kinda pleasurable in its own way.
Another lesson Random Rog taught me is to use a good, sturdy clamp as a handle to turn the top for working the various sides and angles. Random was kind enough to loan me a beautiful Bessey clamp, but it ended up being too long for my purposes, so I just used one of my Rockler aluminum beauties.


Like most things Roger teaches me, this works remarkably well. There's something about the leverage the handle provides that makes flipping the monster (I estimate it's about 350-400 pounds) easy, even for a guy with a bad back and swollen hands.
Once I got the thing on its side, I could start cutting the angles. The next three photos illustrate the line drawings around the right side knot and how I hogged out the negative space with a chisel.
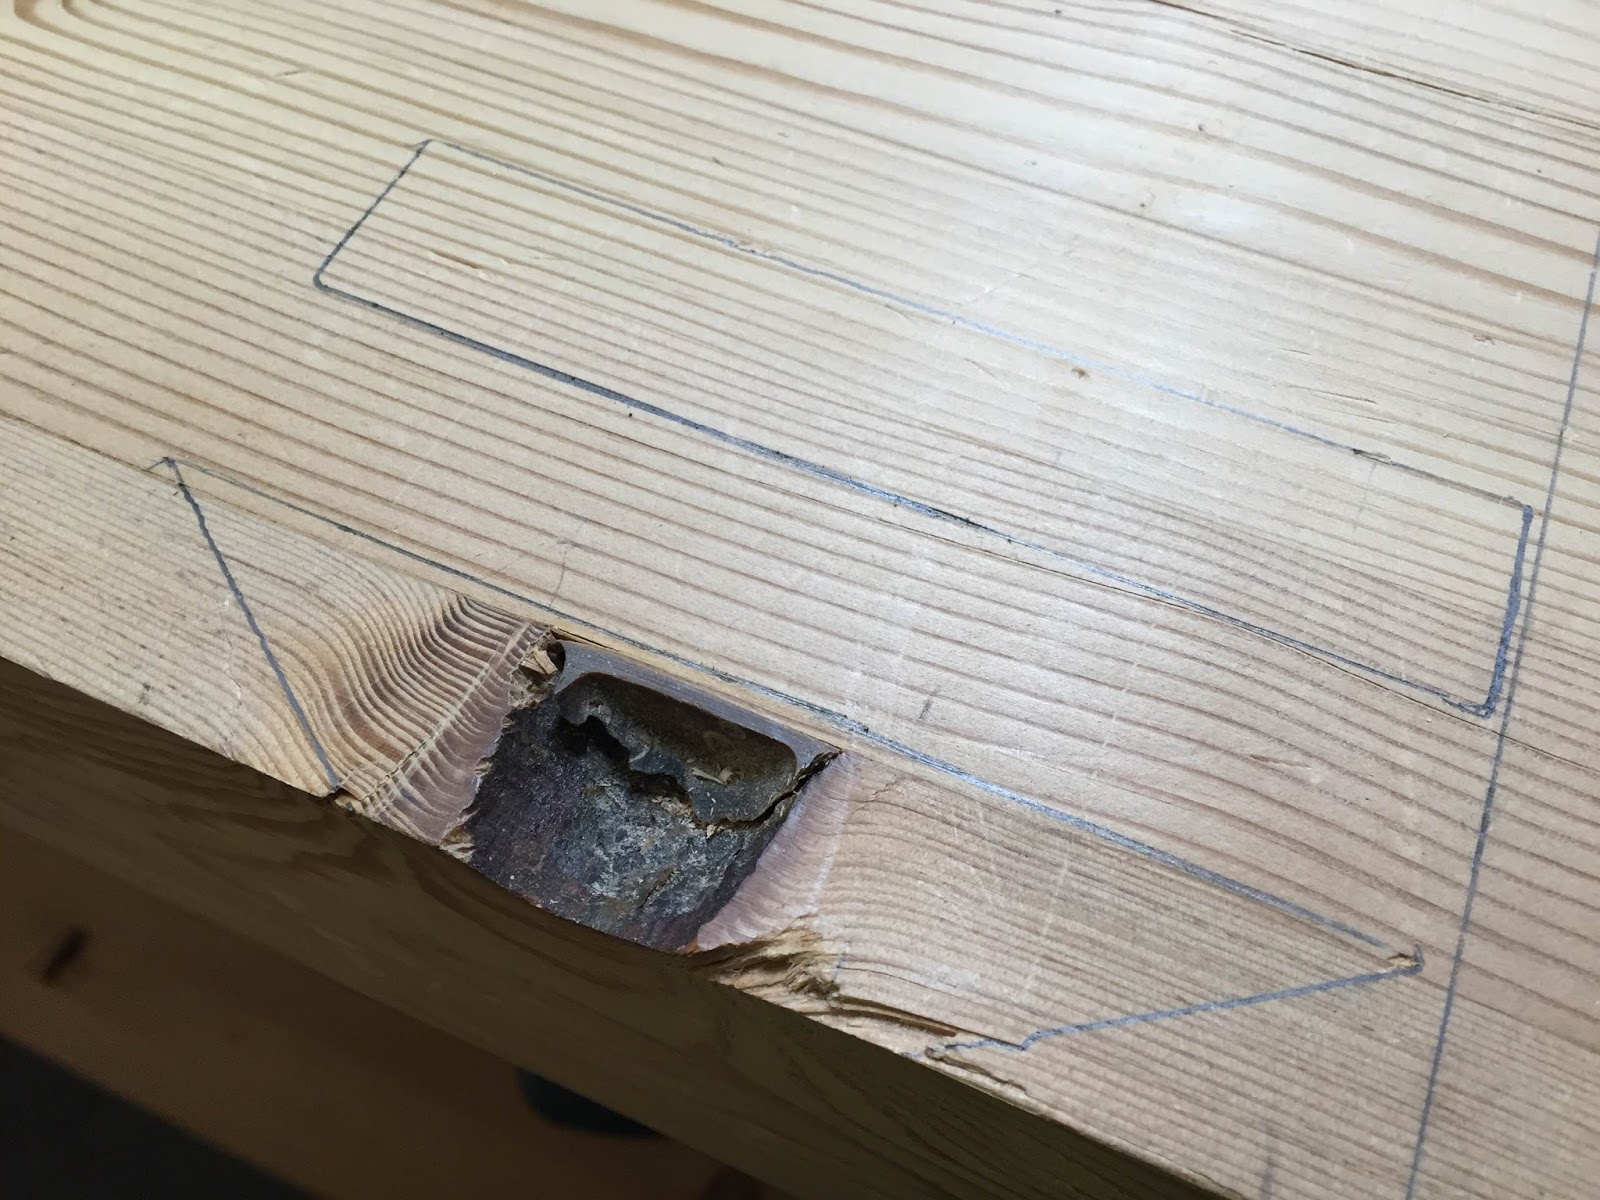


As I was working on it, I sent a message to my wife, Tonya, that I'm now embroiled in an increasingly torrid love affair with a 1/2" chisel from Germany. She was unmoved.
From this point on, it was just chiseling and shaving and straightening until the mortises were done.


Once I have the four dovetails completed, I'll start their rectangular siblings. Given my schedule, I anticipate I'll have all completed by the end of the coming week.
Until next time...
No comments:
Post a Comment