
I also got the pinblock (aka wrestplank) support blocks installed. No issues there whatsoever.


Once the supports and nameboard were glued up, I went back to the bench - there's still a lot to do there.
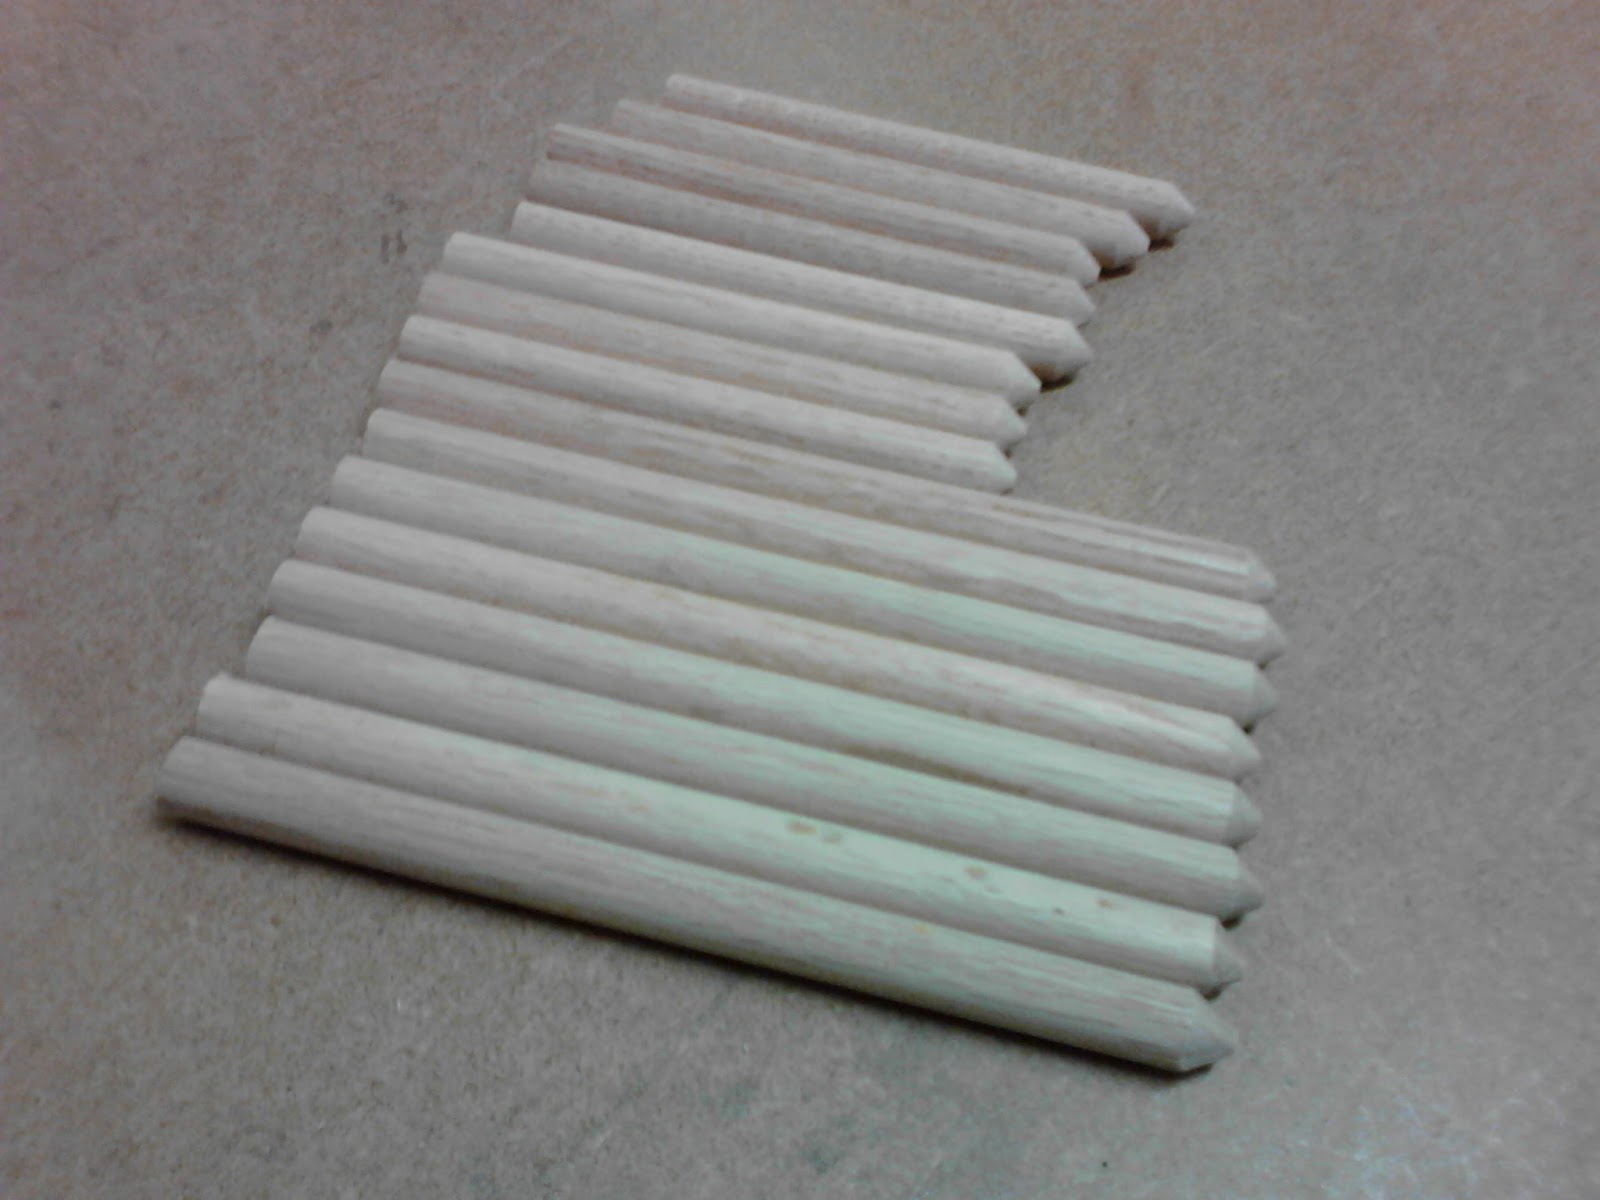
Because Random Roger Green and his buddy, Dave Legg, said they would help me get the workbench legs put together and the top on, I went ahead and cut and rounded some drawbore pegs with great anticipation. Drawboring is an ancient woodworking technique. In fact, Random told me he observed drawbore pegs in the legs of more than one chair in the Tutankhamen collection. I suspect it was used long before Tut's time, as well.
Drawboring is intended to be used with mortise-and-tenon joints like those between the workbench legs and stretchers (the small planks that will hold the shelf near the bottom of the bench). The technique involves drilling holes into the mortises, pushing in the tenons, marking the holes, removing the tenons, remarking the holes closer to the proximal part of the tenon and drilling them there. Then, pegs the size of the drilled holes are hammered into them, drawing them in for a super-tight fit that will last, well, for millennia.

All the rounded points need to do is pick up the adjusted hole in the tenon. In this case, we moved them 1/16", which made for a nice, tight fit, indeed.
When Random and Dave showed up, we got to work right away. The first thing we did was to prepare and dry fit the legs to ensure a successful gluing session later.


All went well, so we threw down some plastic and glued it up using Garrett Wade Gap Filling Glue.

Next, we put the leg structure on the floor and gingerly pounded to top into place.

Alas, we neglected to dry fit the top and ended up putting it on backwards! This was pretty demoralizing (for me, for Random and Dave, not so much - they have a lot more experience than I and knew it could be fixed), so we called it a night. A couple of days later, I devised a plan using a floor jack, some scrap wood and patience and, voila!, I was able to pop off the top, turn the legs around, and pound it home again (with the help of my neighbor, Mike Crane - a Renaissance man who is a general contractor, master woodworker, expert metalworker, and journeyman body-and-fender man - and my hero).

The clamp in the photo above is holding a split together where I squeezed in some glue. Once things had set up overnight, I flush cut the drawbore pegs (1/2" dowel from Home Depot).


At this point, I was pretty happy with my progress, so I went ahead and test fitted the leg vise chop just to see if things lined up and if the crisscross worked as intended.

Not too shabby. The chop itself still needs some trimming and shaping, which I will do at Random's enormous shop over the next couple of weeks.
I then pulled the chop off and turned my attention to the deadman. What's a deadman? It's a vertical board with strategically spaced dog holes. What's a dog? It's simply a spring-loaded peg used during clamping. In the case of a deadman, a dog is used to balance a board of any length that may find itself locked in the jaws of the leg vise. The first step in the process was to build a raised track along which the deadman glides.

You may also recall from a previous post that Random and I cut a 1 1/2" x 1" trough under the front of the top. This trough acts as an upper retaining guide for the deadman top. You'll see what I mean in a moment. Back to the rail - it's a little thinner than the front stretcher and 1/2" high with a 1/2" flat space at its peak. As you can imagine, this means I needed to cut a complementary negative space into the bottom of the chop. So...that's what I did.
But before I started cutting, I drew as much onto the face of the deadman as I could. The deadman is made from the same 8/4 piece of alder I used to cut the stretchers. And, yes, that's the lid from a seafood boil pot I'm using to make the cut curves in the photo below.

Now, in my zeal to route the top of the deadman to fit in the bench top trough, I cut it in the wrong place, hence the appearance of the "unforeseen artistic embellishment" using some of the walnut I had scavenged from Goby Walnut and Western Hardwoods. I thought it would look okay with the darker strip at the top. Unfortunately, it kind of looks like crap, but, frankly, I don't care. As Random is wont to say, "It's just a bench."
I then laid out the dog hole locations and went to work on the drill press with a 3/4" Forstner bit.


You will also notice another creative "unforeseen artistic embellishment" at the top of the deadman in the photo below. As I was routing out the piece that sits in the trough, the router chipped out a large chunk. Rather than ditch the nice, big piece of alder, I simply sanded another small curve into it using the Rigid oscillating spindle sander.

As always, everything worked out in the end. The deadman glides quietly along its little track and I can't wait to start using it to finish up the harpsichord.
Until next time (when I dry fit the case to the bottom and start gluing up the sides)...
No comments:
Post a Comment