Before I could get the soundboard glued down, I had a couple of preparatory hoops I needed to jump through. First, Mr. Miller in his eBook Most Excellent describes how the four foot hitchpin rail (on the reverse side of the soundboard - this would make the top the obverse, but I digress) needs to bump up pretty snugly against the upper belly rail at the front of the instrument. After testing, I observed that it was off by about 1/2", so I cut up one of my gluing cauls (these lay on top of whatever you're gluing to provide protection for the wood under the clamp/go bar and to spread out the pressure laterally) and taped it onto the rail and tested for fit. It was pretty close, so I glued it up.
Close, but no cigar; it was still off by about 1/32". After having gone through the previous glued linen exercise with the cutoff bar and rib scallops, I realized a folded over piece of glued linen would just about cover the final space needed.
This thin addition made the fit, in a word, perfect.
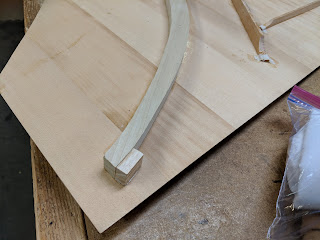
The second step was to prepare the cauls and go bars. As I said above, cauls are small pieces of wood designed to protect the wood being glued up, as well as spread the clamping pressure horizontally. In this case, I'm using former go bars of ash that I had cut too thick. I also cut small divets into them with the band saw to more securely hold the go bars - probably not necessary, but helps me sleep at night.
What's a go bar, you ask? The go bar clamping system has been around for thousands of years. I suspect the Egyptians were using it. I've seen some nice draw-bore pegs in Egyptian chairs, so why not, right? Frankly, it was probably used long before that. The system is simple; it requires two fixed surfaces and a flexible bar to bend between the two. Here, I use the assembly table, a "go bar deck" mounted to the ceiling, and oak and maple bars. You want the bars to be thin, yet not too thin with a sturdy enough constitution to not break under pressure. Softer woods are not the preferred choice.
Once everything was sliced and diced to my exacting standards (good enough is good enough), I quickly ran glue around the liners and put the soundboard under go bar pressure. My secondary goal was to not glue the cauls to the soundboard - squeeze out has a way of doing that.
The next day, I pulled the bars and cauls and, voila!, a secure soundboard was in evidence. The nicest part of this is that I can now put the instrument on its spine and the soundboard doesn't fall out, a delightful consequence indeed.
Until next time...


No comments:
Post a Comment