


In the end, both bridges looked pretty great.

Once the beveling was done, it was time to get the bracing glued to the reverse side of the soundboard - you know, the side opposite of the top. But first, there was another step recommended by Owen Daly that made perfect sense to me: round the bottoms of the ribs and cutoff bar a bit so that clamping them on the ends will pull down the middle and create a slight bow in the top (a good thing). I clamped the No. 62 low-angle plane upside down in the bench and went to work.

Curving the ends was a breeze. I then decided that I would glue up the 4' hitchpin rail before proceeding further with the ribs and cutoff bar, so off I went.
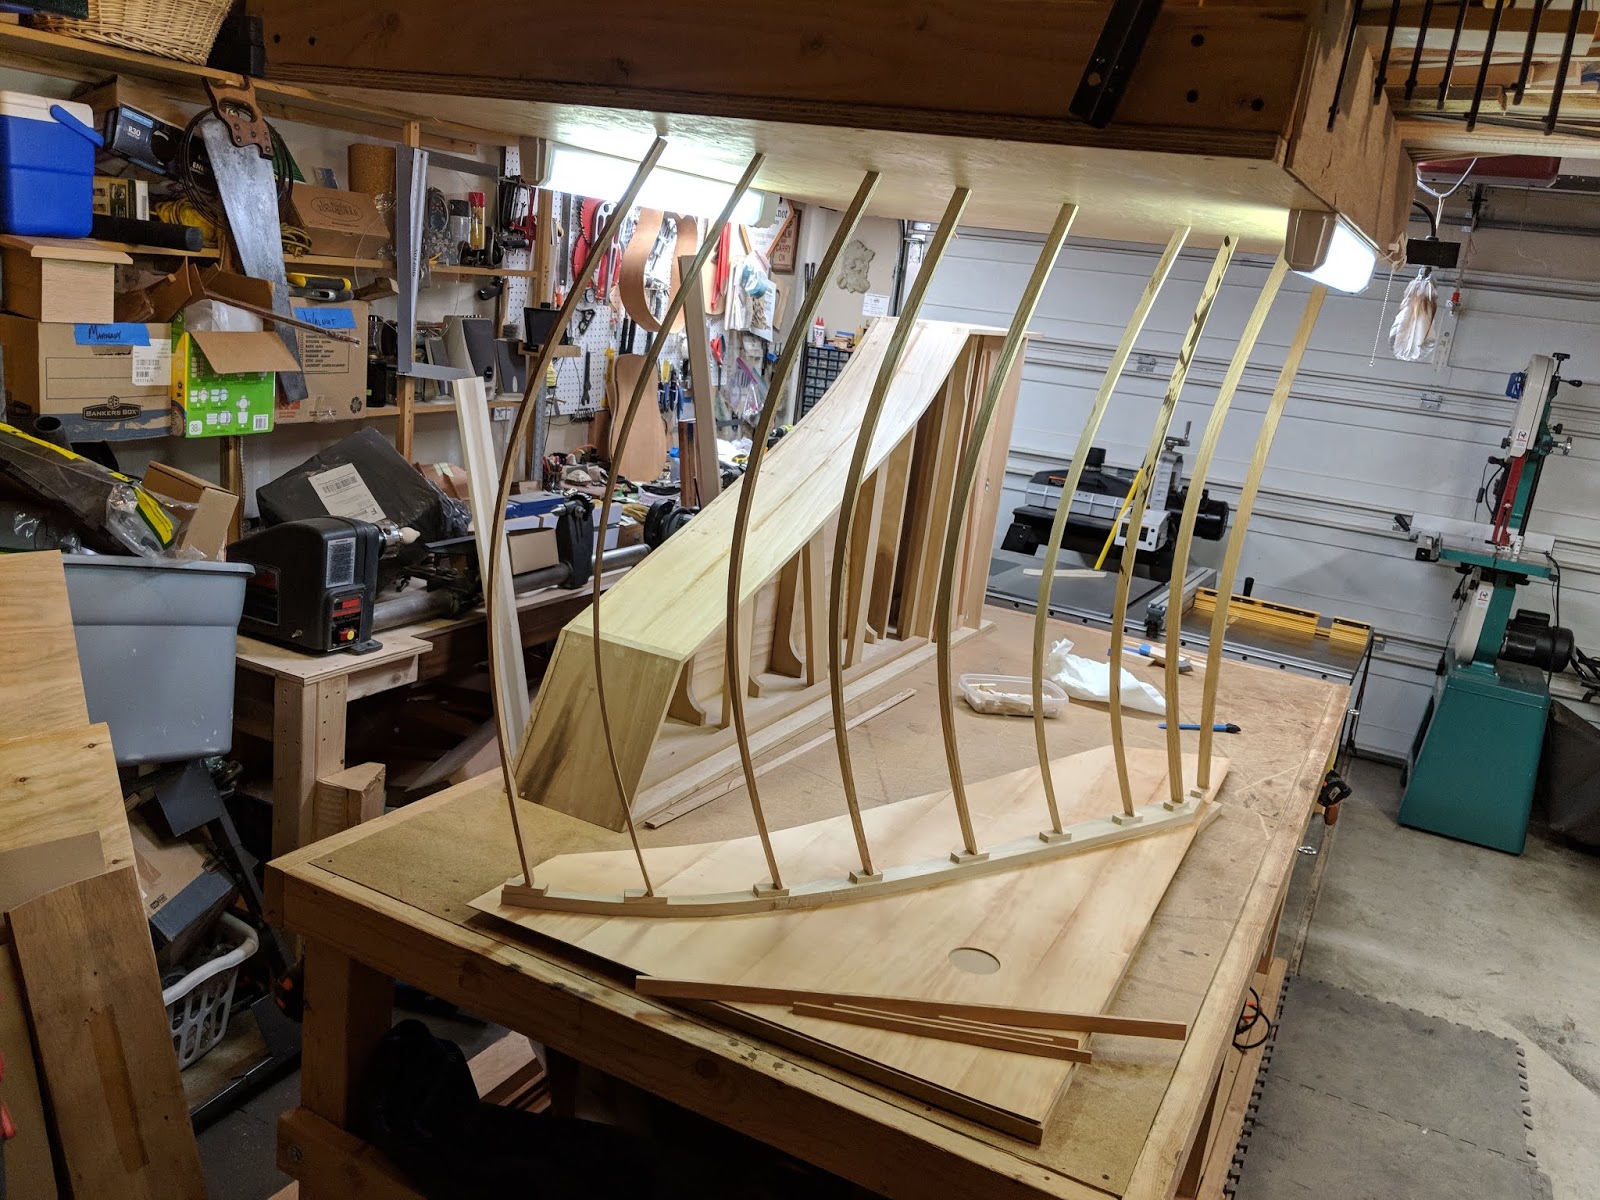
While the rail glue was drying, I lined out the placement of the cutoff bar and ribs using a marking tool. The next day, I glued up the ribs, waiting to glue the cutoff bar down until I had scalloped the ends of the ribs.


Then, on went the cutoff bar and its scalloping.

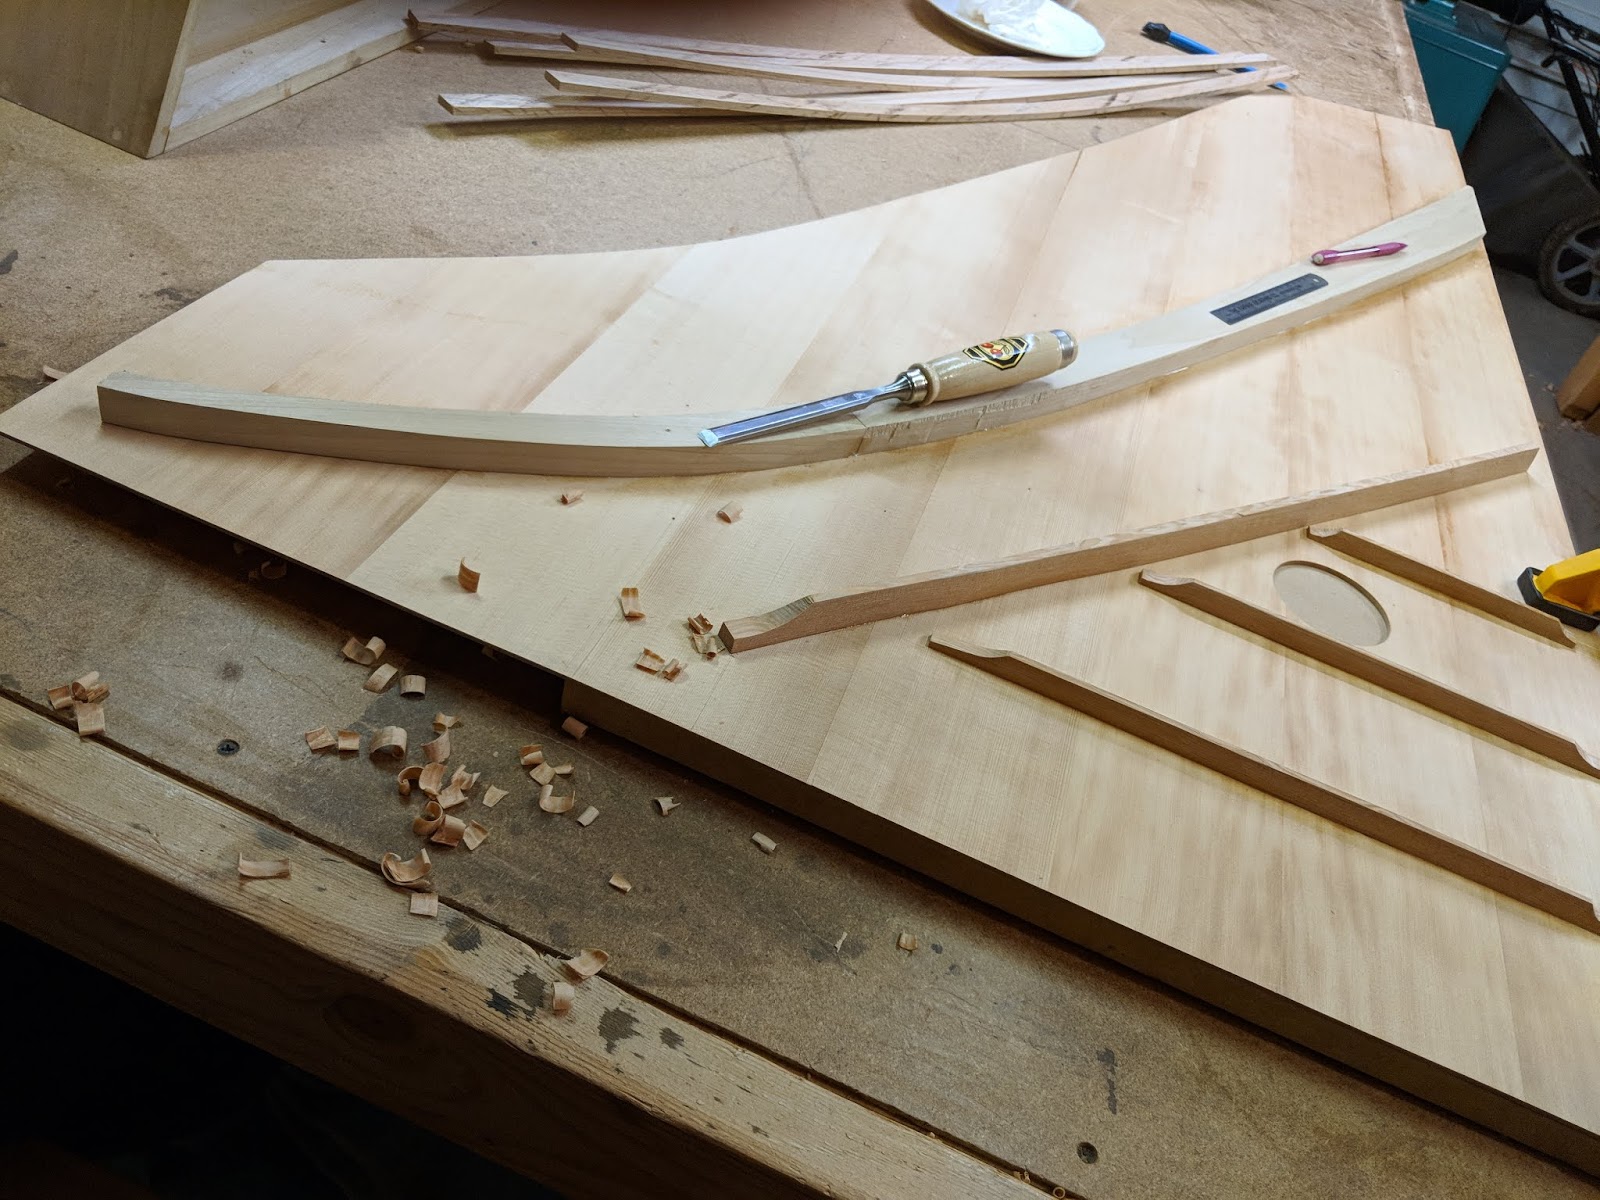
I keep my chisels razor-sharp, so everything went without a hitch. Owen also recommended I throw some linen soaked in animal glue onto the scallops as an extra measure. And also the Old Guys did this, so why not?

It's been in the 90s here and gluing with animal glues is always more easily accomplished in higher heat, so it's been something of a pleasure to work with the glue and get these final soundboard steps completed. The next step is to "close up the box" and get this thing headed toward completion. So far, things are looking pretty good (and, yeah, that's me in the last photo below).


Until next time...
No comments:
Post a Comment