

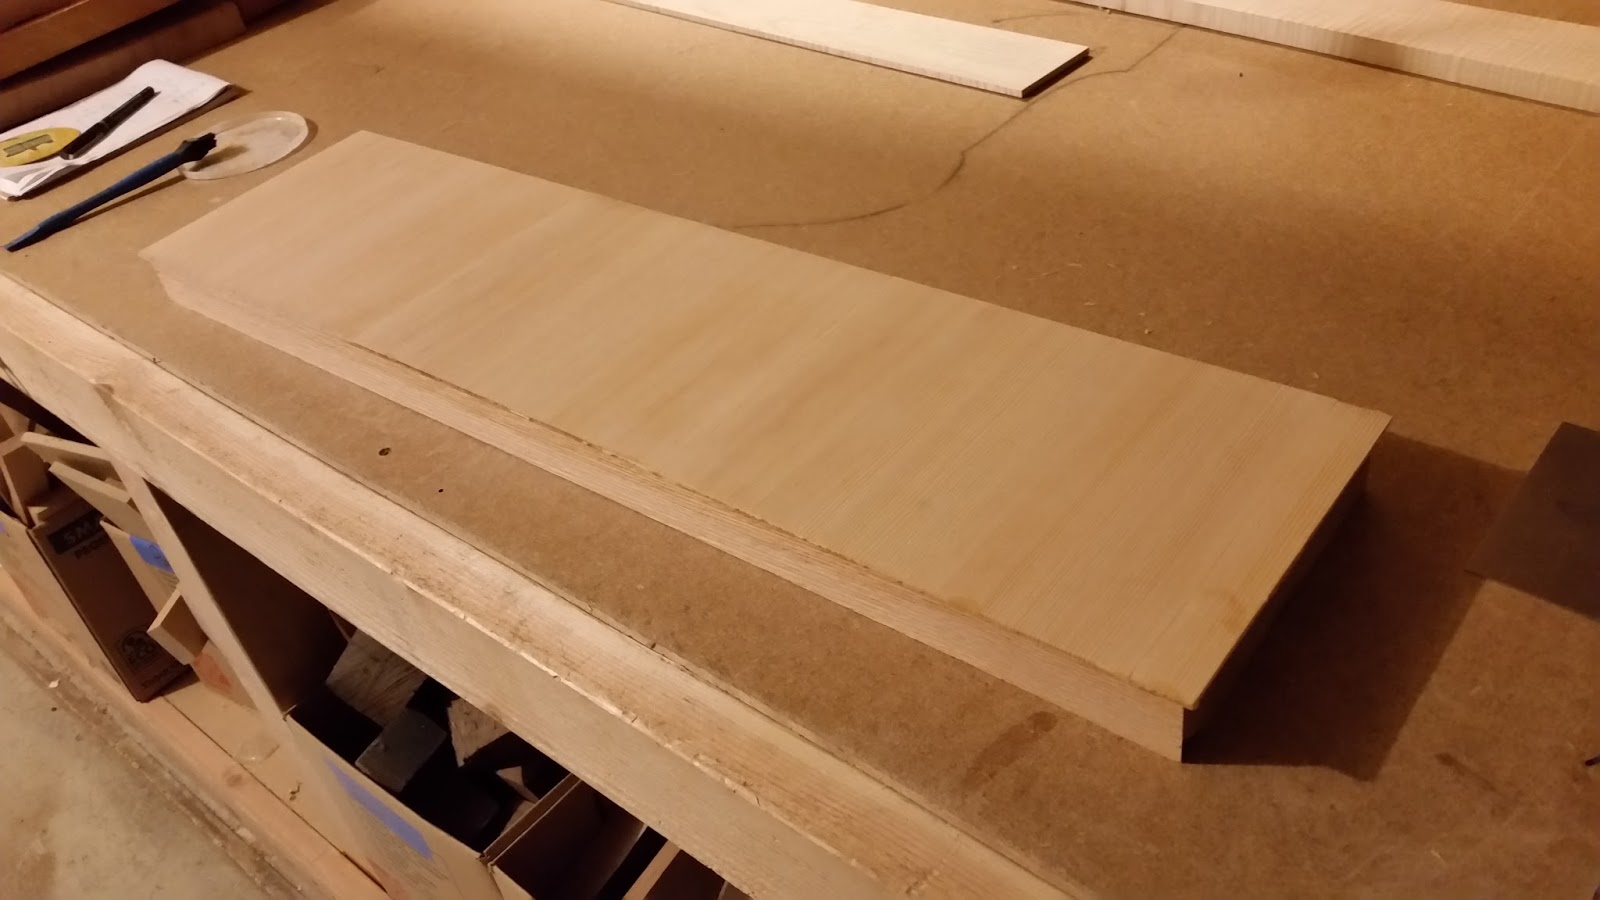
The final size for the wrestplank was 1 1/2" x 7 5/8" x 31 1/8". Once I had it cut and planed down to size, I threw the cap on to see if it would actually fit. Ideally, I wanted a spare 1/8" around all edges that I could route off later.

Bingo - a clean 1/8" all around! The next logical step was to glue the cap to the plank.

What was not logical was the approach I took for the glue-up. I had put considerable time, effort and, frankly, money into creating the assembly table/go-bar deck a couple of months back and then neglected to use it in this case (thanks to Master Builder Kevin Spindler for pointing this out). Why I ignored the go-bar approach is completely beyond me. Perhaps I was overly influenced by Mr. Miller's eBook Most Excellent in which he does not use a go-bar clamping setup. I don't know. It will just have to remain one of life's little mysteries.
There was also some question voiced by Owen Daly of Owen Daly Early Keyboard Instruments regarding the use of hot hide glue for this step. Well, I don't have a glue pot, hide glue chips and urea nor do I have enough Titebond hide glue handy to have done the job. Owen's point is that sizing - pre-applying an extremely thin layer of hide glue to all pieces to be glued and then letting it dry before the final glue-up - produces an extremely tough bond. In this case, all I had handy was Titebond Original, so that's what I used. I'll be visiting Owen's shop next week for a mini-workshop on the use of hot hide glue (thanks, Owen).
In the end, everything came out okay.
The cap is glued on securely and is perfectly flat. Now, I just need to run a router around the edge to make the cap flush with the main wrestplank body and I'm good to go. I'll get this worked up tonight and get back to working on the case sides. The first task there will be to cut the sides to width for final jointing.
Until next time...
No comments:
Post a Comment