Sunday, August 7, 2016

Day 127: Fish Glue and Trenails

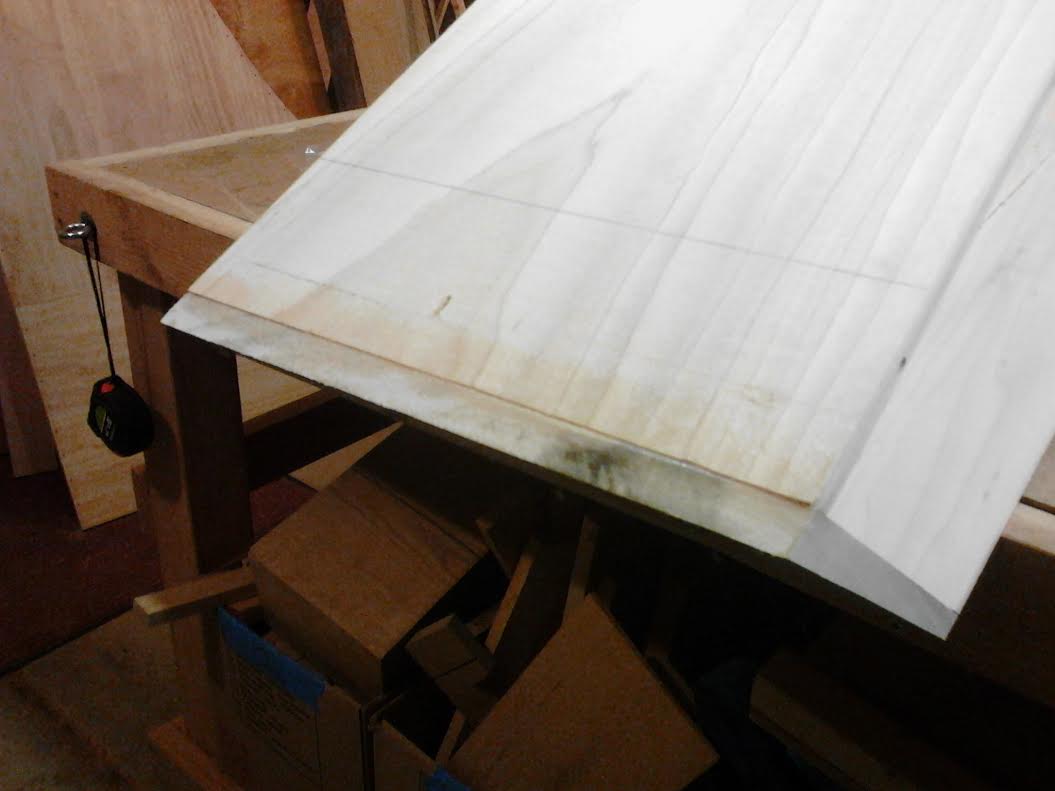
Once again, there's been so much happening at Tortuga Early Instruments Worldwide Headquarters I've no had time to post. Time to remedy the situation. First, I want to wrap up one of my mistakes so we can move on. The photo below illustrates my faulty nameboard center window cut.


As I said on Facebook, I'd like more of whatever I was on when I made this cut. Not only is it off, all three of the windows are of insufficient height. Okay, in my defense, it was one of the first things I worked on after completing the keyboard. Yeah, I know, lame. Regardless, I'm going to need to work on all three windows, but, at Owen Daly's (of Owen Daly Early Keyboard Instruments) suggestion, I'll be waiting until later to clean them up.

Random Roger Green also asked the salient question, "Aren't you veneering it? If you are, why not fix the holes and just put another layer of [astonishingly thin] veneer over it?" Once again, Owen and Roger have shown me the way - and the way is down the road weeks or months from now. Okay, enough with the mistakes, let's look at a few things done right.

First, I finished up gluing the remediated upper belly rail (UBR). You can see in the photo below where I created some small clamping blocks covered with blue painter's tape. This prevented the blocks from being glued to the case, and I used the blocks to keep the clamps from marking the wood during glue-up.


All measurements are good, everything is square and all dados and parts line up where they should. Now that I've fixed all of the mistakes I baked into the UBR, I'm proud to say I've instituted a new cutting program at Tortuga Early Instruments Worldwide Headquarters. When cutting the parts and pieces below, I literally wrote the dimensions on the wood with checkboxes to ensure I made the correct cuts. The first parts cut using the new program were the lower braces. Before I cut the pieces, though, I had to mark out the upper and then lower brace lines onto the case sides.

Upper Brace Lines

Lower Brace Lines

Once I lined everthing out, I carefully proceeded with the cutting and shaping of the lower braces.


I cut all to dimension and drew on the cut lines of the curves. The idea is the have a 1 1/2" bar with two inches of a full three inches in width at each end. You can see in the photo above that I once again used the trusty, old magnetic screw dish to make my angles.


I then cut the pieces on the band saw (sorry about the poor quality of the photographs - I broke my cell phone and have not yet replaced it, relying, instead, on my little Samsung tablet's camera and it sucks) and shaped them on the Ridgid oscillating spindle sander. I know, I have kind of a Darth van Beethoven thing going on there. I don't care - it's safety first at Tortuga Early Instruments Worldwide Headquarters!


As you can see in the bottom photo above, I left a little leg room on each end as suggested by Mr. Miller in his eBook Most Excellent. The longest one requires angle cuts on both ends and all the others have them only on one end, yet it's been my experience that these things are best left a bit rich because it's frankly kinda hard to cut an angle perfectly on the table saw the first time. I did, though, get them all cut and put in for a quick dry fit.


All was well, so I went ahead and glued and clamped them in.


As you can see in the bottom photo above, it looks exactly like the dry fit except that they're glued in. I suppose this one's for the record. You'll also notice gaps where there shouldn't be gaps. I should have sanded the bentside ends of the braces down to fit the odd bentside angle. The bentside continues to offer opportunities for improvement and I certainly will be addressing this in future builds by making another lamination form or simply bending a 1/2" plank. We'll see.

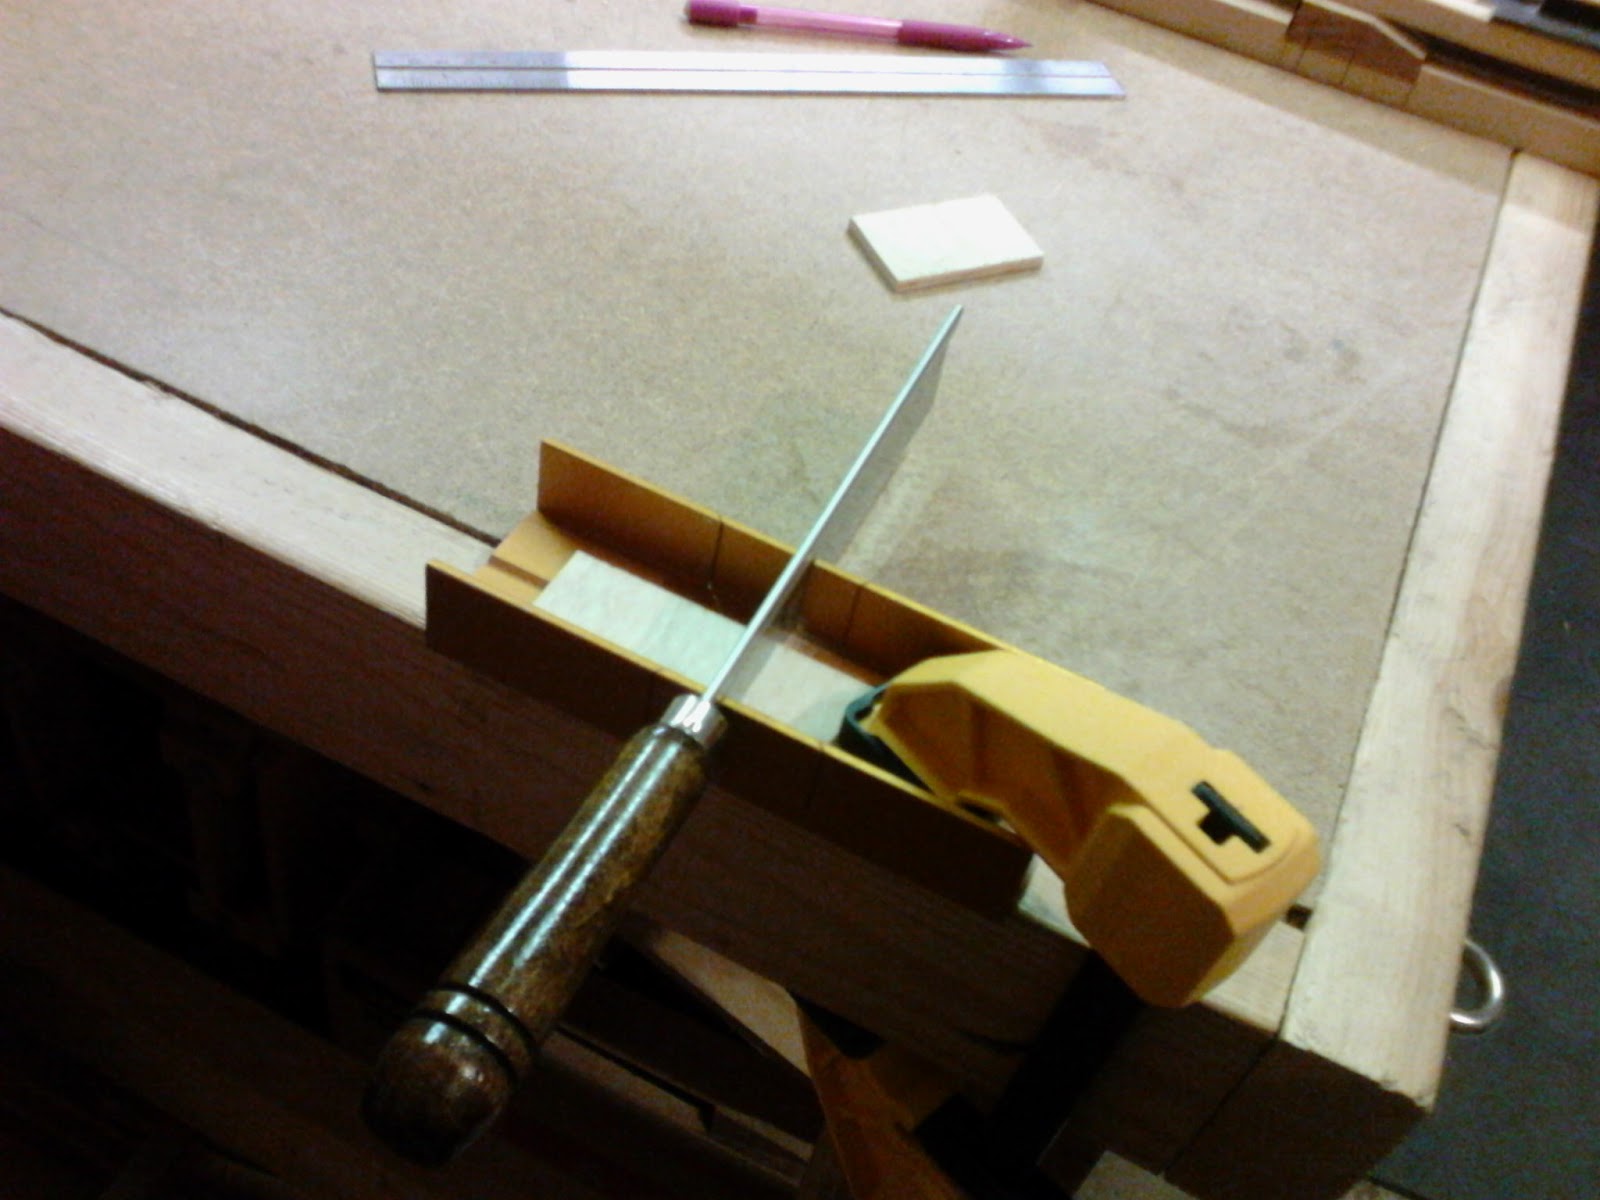
Once I was satisfied with the glue-up, I pounded two trenails (pronounced "trunnels") into both sides of each brace. I made my own using red oak and gave them a dull point using a bench hook and 1/2" chisel.


A trenail is really just a square peg pounded into a round hole. In many ways, this is a great metaphor for my life, but I digress. In the end, Owen was right - there's something really quite satisfying about pounding them in, especially the "THUNK" when they hit home.


These will hold the braces fast and will be completely covered when I veneer the sides. Yes, I'll cut them off and clean them up. Sheesh.

On a couple of completely unrelated notes, I experimented with fish glue this past weekend. Now, the stories from my luthier pals about fish glue are as varied as they are interesting. As I always say, "Ask five luthiers for their opinions on a build method and you'll get seven answers." This was the case with the fish glue. Mark Roberts of Mark Roberts Guitars and Ukuleles gave me a small bottle, so I experimented with it a bit.


Conventional wisdom among my fellow builders is that fish glue is for temporary use only, when one requires a weak joint. When would a luthier require a weak joint? Well, some builders glue blocks to parts such as case sides, use them to clamp during glue-up, and then remove them with heat. This requires an ostensibly weak glue such as fish or watered down hide.

On the other hand, Mark tells me a story from a luthier pal of his who built a guitar using only fish glue that has traveled on six continents in just about every weather condition imaginable for the last 20 years and it's still as solid as the day it was built (or the fish glue dried, as it were). The photo above illustrates a two-day test I ran on a couple of pieces of scrap using the fish glue he supplied. I cannot get them apart. I even tried cold, room temp, and hot water.

Tomorrow, I'll hit it with the heat gun to see what happens. I can say with confidence the glue is incredibly easy to work with during glue-up; it cleans up quickly using hot water and a paper towel and washed easily off my hands. I suspect the fact that this glue is made from fish air bladders, rather than bones and/or cartilage, makes a difference, as would its final formulation by the manufacturer. More to come on this interesting, sticky new twist.

I also made a couple of little racks to get some of my clamps off of benches, shelves, and other hangy-thingies and up out of the way while remaining easily accessible. My solution:


Yeah, I know it's trivial in the grand scheme, but, sometimes, it's the little things that count.

Until next time...

Wednesday, August 3, 2016

Day 126: Fixing Mistakes...Again

The last couple of weeks have been an intensely interesting study in attention to detail. Mr. Miller's eBook Most Excellent is clear and precise. I am not. I keep making mistakes over and over and over and over. This simply will not stand. So, I've had to come up with a mitigation strategy that includes both a laptop in the shop and checklists for every cut moving forward. It's sad I need to do this, but I need to do this. I've grown weary of fixing mistakes.

Speaking of mistakes, the first one we'll discuss today is the upper belly rail, or UBR. The UBR serves several functions related to support and placement of the soundboard and registers (guides for the jacks). After cutting and then fixing the dado (discussed in an earlier post), I discovered that I had cut the rabbet on the wrong side of the board. I then cut off the rabbet and had a little do-over party.


Because the poplar piece I wanted to use for the fix was not long enough, I created a half-lap joint that I knew would be even more stable once the piece was glued onto the UBR.


Once it was glued up, I cut the rabbet (again), this time on the correct side, and smoothed it out on the new bench using a 1/2" chisel.


All was well...until I tested its placement in the case. I discovered the pinblock supports I had cut and glued up months ago were not dimensioned correctly. Good grief. Rather than start a harpsichord case-fueled bonfire in the backyard, I deliberated a bit (Owen Daly calls this "head-scratching time") and emailed Ernie Miller who helped by clarifying the necessary dimensions. I then decided I should at least try to hog out what needed to go to reach the correct dimensions.

I started by creating a template that was the size of my desired end dimension.


This little template helped me draw some cut lines in a highly constrained space. Once the lines were drawn, checked, and rechecked, I started the exacting process of chiseling out the unneeded material.


Wonder of wonders, it worked! The supports are now dimensioned in the right places and I can get back to gluing in the UBR, Thank goodness for sharp chisels - they saved the day.

After discovering my latest mistake, I decided to throw the keyboard into the case to check its fit.


Fortunately, it's just right. I honestly don't know what I would have done had something been off - probably fix it and live to fight another day.

Until next time...

Monday, July 25, 2016

Day 125: Belly Rails and Dogs

Before jumping onto the creation of the upper belly rail, I decided to complete the cleanup of the cheek/bentside joint. I had cut off most of the overhang last week and borrowed a couple of tools from Random Roger Green (yes, again) to finish the job: a face float and a low-angle bench plane. The face float is an interesting tool. Basically, it's a (in this case) draw rasp that's offset with a nice handle.

The thing is, though, the offset allowed me to rock the float while using it and I dug into the side of the instrument about 1mm. Frustrating, but not a game-changer - I'll just putty it up a little, which is fine because, as you recall, I'm veneering the case with quarter sawn red oak. I'll be more careful next time.


Ultimately, it was the low-angle block plane that did most of the heavy lifting - 1/1000th of an inch at a time. It took a while, but I'm pleased with the result.

Before tackling the upper belly rail, I went ahead and threw in the keyframe support blocks.


And puttied up and sanded a few of the screw and nail holes left from jointing the case sides.


I then took up the matter of creating an upper belly rail for the instrument. This part is made from poplar, like most of the instrument, and is dimensioned at 11/16" x 3 1/2" x 30 5/8", so I went to my stock to see what I had available. I did have a nice, big piece of 3/4" x 12" poplar, but it pained me to think of cutting it up in this way. I quickly realized I could simply plane and joint a thinner piece and cut it to dimension. And I got to make real use of the new Roubo-style bench for the first time!


So, there you go.


This part has a couple of interesting cuts in it, as well: a dado and a rabbet. A dado is a slot cut into the board and a rabbet is cut on the edge. In this case, the dado was to be 1/2" from the bottom, 3/16" deep and 3/8" wide. I decided the best way to cut this was on the table saw with repeated passes, so I went to town - only to discover my depth gauge had misled me (it had somehow slipped from 3/16" to 1/4"), so I decided to fill the dado and start over.


I left it a bit rich so I could plane it smooth using the Roubo and a couple of the new dogs I made (more about these later). I planed it down using my refurbished Stanley Bailey No. 7 and it worked like a charm. I must admit that it was really nice having all of the parts, pieces, and tools, including my intent, come together around this little task. I eventually got the dado cut and will be cutting the weird, little rabbet tonight.

On a tangentially related note, I've been working a devious plan to make my own bench dogs for the new workbench. Roger Green recently introduced me to a cool concept from Time Warp Tools: wooden dogs. These are a great idea because a brass or aluminum dog always has the potential of ruining a perfectly good hand plane blade.

After reviewing the Time Warp Tools version, it occurred to me that I could probably find the spring-loaded rollerballs somewhere on the Interwebs. I did - on eBay from a company in England. I ordered a pack of 10 for $11 with free shipping and sat back to wait a month or more for them to arrive. Wonder of wonders, they arrived the next week. Vive la Par Avion!

Once they were in the shop, I scooted over to Home Depot and purchased two 3/4" oak dowels and start cutting and drilling. I wanted a harder wood like ash or oak, rather than a softer wood like poplar, because they would be holding boards on the bench under some pressure.


The roller balls are actually door latches. I glued them in with a little activated Gorilla Glue and just used Titebond on the leather pieces. In the end, I made ten dogs for under $20, rather than spend $9 each + shipping from Time Warp Tools. Sorry, Cool Time Warp Dudes.


As you can see, the spring-loaded roller ball takes the place of an awkward spring thingy. You can also see a couple of them at work in the upper belly rail screwup fix photo above. Now, back to that belly rail.

Until next time...

Monday, July 18, 2016

Day 124: Building on the Bottom

This past week has been a fairly productive one at Tortuga Early Instruments Worldwide Headquarters. As you know, I had decided to leave the bottom off, allowing me greater access to the inner workings of the instrument, or so went the theory. As I started the process of adding the bottom braces, it occurred to me that I may as well follow Mr. Miller's suggestion in his eBook Most Excellent and go ahead with mounting the case sides onto the bottom.

As I laid out the glued sides on the bottom, things, of course, did not exactly line up properly. In the future, I will most likely not draw up and/or rough cut the bottom until I have the sides glued up. In this case, I simply needed to add a little real estate to the front of the bottom - the part that supports the keyframe. I had decided to add just 1/2", so I grabbed a piece of 3/4" pine and ripped 1/2" from it. Then, I decided to plane the piece down to 1/2" so I would have the correct thickness (the bottom is 1/2" thick).

Yes, I was tired. No, I was not thinking clearly. As I gleefully planed away with the Stanley Bailey No. 7 on the new bench, I kept thinking, "Boy, that sure looks like a thin 1/2"." Good grief. In the end, I realized that by ripping a 1/2" piece from a 3/4" plan, I would have my 1/2" thickness with a 3/4" extension off the front. Easy peasy. And it turned out I needed that extra 1/4" wiggle room. I've said it before and I'll say it again: Sometimes, I scare myself.

Once I had the piece ripped (again), I glued it up and let it sit overnight.


I then proceeded with the sides-to-bottom glue-up.


The session went really well and I ended up with sides securely mounted to the bottom. Finally, I'm "building on the bottom!" Of course, after all of this effort, I saw Owen Daly of Daly Early Keyboard Instruments over the weekend and he summed it up nicely (as he always does): "Heck, I just throw a few trenails or nails in and call it good." He mentioned nothing of glue. Oy. So, I guess I now have a box that will not warp or curl in strange ways over time. Thanks, Titebond.

Once I got the sides mounted, there was some overhang that I needed to clean up with a router and a "bottom-bearing" router bit. This router bit has a small bearing mounted on its bottom that matches up perfectly with the diameter of the business sides of the bit. This way, it acted as a guide against the sides as I routed off the bottom overhang.


The spine needed the least amount of cleanup.


The bentside was a bit more challenging because I still had the excess piece hanging off of the bentside/cheek joint. I don't have a photo, but I'll detail this a little more later as I clean it up. I did cut the overhang from the bentside/cheek joint and will be rasping it down over the next couple of days - more to come on that.

I saved the front trim for last based on the way the wood was situated and what I had learned about end-grain tearout when putting the bottom together. Saving it for last worked perfectly.


My son, Trey, had come over for another visit and was once again quite helpful with suggestions and helping me get things into place for the trimming efforts. In the photo below, he contemplates our next steps.


Well, it turns out the next steps are to rasp/trim back the bentside/cheek overhang cut and start putting the lower braces in. It looks to be a busy week ahead, indeed.

Until next time...

Tuesday, July 12, 2016

Day 123: Case Front Molding

Now that the Roubo-style bench is 100% complete (more on this below), we can all get on with our lives. Well, I know I can - and I'm happy to do it. The first thing I did post-bench was to work on the instrument case front molding. Because I'm building this one in Craftsman/Mission style, I will not route or shape this molding - or any molding on it - in any way. Since I did not yet mount the bottom, I decided to glue the two front molding pieces together before gluing them to the case sides (rather than use the bottom as a glue anchor/support).


When I took the piece(s) out of the clamps, I realized I had glued them sort of upside down (just trust me on this one), which prompted me to use the new bench to shave off some saw marks that would otherwise have been hidden. I can't even blame the beer on this one - I was just moving too fast.


The bench worked famously (Did you expect anything else?).

I then went ahead and glued the piece to the sides and let everything setup overnight.


Yes, the instrument is upside down in the photo above - one of the reasons I left the bottom off was that it would provide me easier access to these sorts of parts and pieces.


The next pieces I'll be installing are the bottom braces. It will indeed be interesting cutting the bentside (curved) ends.

Speaking of the bench, I was able to apply a couple of coats of clear Watco Danish Oil to it.

Please Note: No Danes were harmed in the oiling of this bench.


I had made a story up in my head (with the help of a few well-meaning friends) about needing to add additional wax or poly to the top. Random Roger Green assures me the application of the Watco Danish Oil, which is a sort of varnish on its own, is enough to resist any glue I might spill onto it. I must admit, the thing looks pretty good now.


I can't tell you how nice it is to have the bench completed. Of course, I'll be adding a Moxon vise to it in the very near future, but that in no way prevents me from using the bench again and again and again.

Until next time...

Saturday, July 9, 2016

Day 122: Gluing Up the Case Joints

Now that the bench is in its final throes, I can get back to the instrument in earnest (no pun intended, Ernie). As you probably know, I dry fitted the case joints using screws as recommended in Mr. Miller's eBook Most Excellent. In the end, I made something of a mess of it and will probably take this path in the future without the assumption that fully screwing the joints together will make everything fit perfectly. It won't. Instead, I found that properly placed blocks inside the case along with only partially seated screws worked great.


The two photos above are the bentside/cheek and the bentside/tail joints. I ended up choosing to use Garrett Wade Gap Filling Glue because it has an interesting property: the glue that squeezes out of joints simply chips off once it's dry. I know, it's weird, but that's how it works. I also have not taken the time to become comfortable with my new hide glue setup. I wasn't willing to experiment with the case and felt the need to get on with things after a four-month break to work on the Roubo-style bench. As you can see, the joints work. In the (unlikely?) event they weaken later, I can explore my options then.


The photo above is the spine/tail joint. Along the way, I chose to position the case in some strange ways, a luxury I was afforded by the assembly table I put together many moons ago.


Most of the time, I found that using a syringe to squirt the glue into the joints provided the control I was seeking during these awkward glue-up sessions.


I had originally purchased syringes with several "needles" for an Arduino-related project (another story for another time) and I think Random Roger Green was a little surprised when he asked me if I had syringes for one of our bench glue-up sessions and I responded, "Yeah, I do. I'll be right back," and returned with a baggie of kits. It's a great way to shoot glue where you want it to go, not where it wants to go.

On a related note, I was able to pick up a nice bag of remnant leather at the neighborhood craft store. I ended up facing the bench and chop for the leg vise and both holdfasts with some of it.


All that's left to do on the bench is to oil it down with some Watco Danish Oil and let it cure for a couple of days. This will prevent me from using the bench, but I can live with that knowing it will be 100% complete once it dries. It's been a long time coming and I can't wait to be done with it.

Until next time...