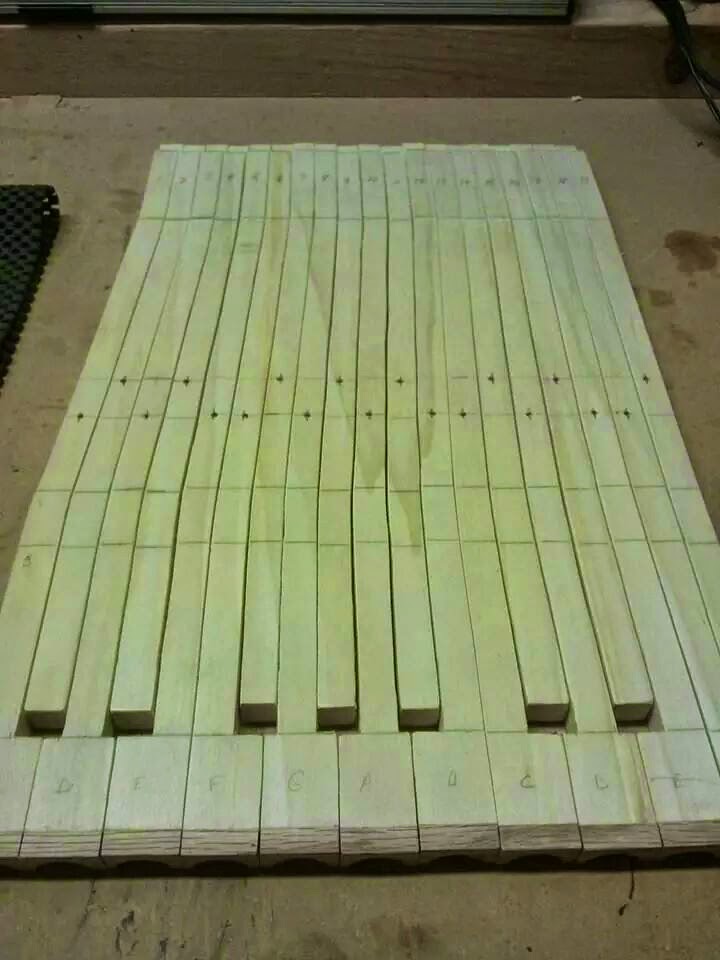
Thursday, July 10, 2014

Day 23: Key Scoring Jig

I was able to complete the key scoring jig last night. In the photo below, you can see one 1/4" iron bar laid across the key top held snugly in the jig. When I actually do the scoring with a razor knife, I will use two bars to score each key cover twice. You'll see in a subsequent post or two why this is important for both decoration and completion of the key tops.


The parts from Hubbard Harpsichords arrived, so the next step is to complete the pinning and felting of the keyframe.  Until then...

Tuesday, July 8, 2014

Project Digression: How It's Made

I haven't made much progress on the instrument since this past weekend. I'll be working on pinning and gluing the felt on the keyframe tonight, yet I wanted to give you something to look at in the meantime. Here's a short piece from How Products are Made that provides a few of the details regarding harpsichord construction.

Enjoy!

Sunday, July 6, 2014

Project Update: A New, Old Bailey #5 Bench Plane

We took a day trip to the Oregon Coast over the Independence Day weekend and, lo and behold, I found myself inside Vintage Hardware in Astoria. They have lots of cool old stuff for sale, including old/antique door knobs, light fixtures, mouldings, doors, windows, furniture - you get the idea. They even had a harpsichord replica coffee table. It was pretty horrific, but, hey, who am I to judge?

On a shelf with some other hand tools, I found a Stanley Bailey #5 Bench Plane (corrugated bottom) in fairly rough condition for $15.00. It's missing a couple of parts, but I should be able to replace them for a few bucks.  A refurbished model runs between $100 and $150, especially if it was made before 1950, so I'm going to make this a mini-project and see what happens.


What do you think?  Is it worth at least a shot?

Day 22: Ripping the Natural Key Covers

I keep referring to the "natural" and "sharp" keys as I describe the work I'm doing for the keyboard. The naturals are the flat keys you see on a keyboard; typically, these are white and made from a material such as ivory, bone or a synthetic like plastic or nylon. Historically, the naturals on a harpsichord are dark and made from ebony or another dark, nearly black, wood. The sharps are the keys that are set back a ways and rise above the naturals; typically, these are black on modern keyboards yet are topped with a lighter color on harpsichords because they are made of bone, ivory or a synthetic material much like the naturals on a modern keyboard.

In this case, I'm using African blackwood from Gilmer Wood Co. in NW Portland for the naturals. I was able to purchase several blocks used for "turning" - using a lathe to make something long and thin. Because I have all of the tools necessary, I am able to rip (cut lengthwise) these pieces into thinner strips so I can use them as natural key covers. Before ripping them, though, I decided to smooth all sides using my planer.


This planer spins razor sharp blades at high speed to trim off as much as I choose using a crank-handled depth gauge to raise and lower the blades. In this case, I took off around 1/32" per cut because I wanted to preserve as much of this precious wood as possible. The photo below illustrates a before-and-after example of this work.


As you can see, this is a very nice wood that will look great covering the naturals on my keyboard.

Once I planed down all of the sticks, I ripped them to 1/8" using the glue line rip blade I recently purchased from Amazon.com. The blue do-dad below is a "featherboard" that holds the wood at a constant 1/8" from the side of the blade closest to it. When I ripped one, I would simply move the fence closer to the blade using the wood as a spacer against the featherboard to get another perfect 1/8" cut. This is an example of my opinion that most good woodworking is composed of geometry and production work. And wood.


I did learn something about ripping thin strips during this exercise: Use a piece of scrap wood as a push stick that's at least as wide as the piece of wood you are ripping.  That way, you can push the cut piece through the blade while also cutting the end of the push stick. It damages the push stick, yet it also holds both sides firmly as you push the wood clear of the blade. Another interesting point to note is that the featherboard acts as an anti-kickback device, which is nice. Just a little more sanding the these puppies will be ready to go.


The next step is to build a key scoring jig before cutting the veneers down to size for the key covers. You'll see what I mean in a later post.

Until then...

Day 21: Keyboard Sanding Completed

I finished up sanding the keys using power and hand (block) sanders. I used the small power sander for the rougher parts and the block sander using 220 grit sandpaper for the finish work.  It's nice to have this completed so I can move on to the key covers.


The next step is to begin ripping the African blackwood veneers for the natural key covers on the table saw.

Until then...

Thursday, July 3, 2014

Day 20: Sanding, Sanding, Sanding...

I was able to get the glue line rip blade installed on the table saw, yet I decided to put my focus back on the keys for a bit; they needed a good sanding before moving on. I'm almost halfway done:


I'm hoping to make some serious progress this Independence Day weekend. The additional balance rail pins and key mortise punch should be here any minute now. Once they arrive, I can complete the keyframe and make significant progress on the keyboard.

Until then...

Tuesday, July 1, 2014

Project Update: Glue Line Rip Blade Heaven

I'm still awaiting the arrival of the additional balance rail pins and a key mortise punch to complete the keyframe/keyboard setup. While I circle the airport (no, not the drain), I am jumping around a bit with the intent of completing the project in a more timely manner.

One task I can complete while waiting is to cut the African black wood natural key veneers. The keys on a harpsichord are historically different than those we are accustomed to seeing on a piano these days. The natural keys are generally a dark wood and the sharps are a lighter material, though the keys of the instrument that motivated me to start this project are like a contemporary piano with white naturals and black sharps. Modern builders use either organic materials (wood and bone) or synthetics intended to mimic the organic stuff for the surface of keys (i.e., veneers). Here's an example of a traditional harpsichord keyboard.

Photo courtesy of Ernest Miller's The Harpsichord Project E-book 3.1.

A veneer is a thin strip or piece of wood that overlays a different underlying material. In the case of this project, the keyboard naturals and sharps are all made of poplar, a light, flexible wood that I've enjoyed working with. Rather than purchase pre-cut key veneers, or covers, at great expense from Hubbard Harpsichords or Zuckerman Harpsichords, I will be manufacturing these myself from stock purchased at Gilmer Wood Co. (African black wood) and, well, Home Depot (quarter sawn red oak).

In order to get the best cut possible for all of the covers, I will be using a Glue Line Rip blade from Freud Tools, my manufacturer of choice for table saw and compound mitre saw blades. The purpose of this blade is to rip wood so that it's ready for glue-up straight from the table saw. Cutting these extremely thin veneers will take a little planning and a lot of patience, but I'm up for the challenge. Here's a shot of the new blade I purchased on Amazon.com from a guy in Seattle.


As I always say, I'm ready, Freddy!  Until then...