I assembled the parts and pieces I thought I would need, encouraged all the while by Mr. Miller's CAD drawing from his eBook Most Excellent. In the drawings, the slots appear to be spaced at perfect intervals just under 1/2" from center to center. So, I proceeded to make a jig that would cut perfect slots at that interval.

I used an MDF board covered with Formica from Home Depot, bought some 1/4"-20 bolts and nuts and mounted the thing to my Incra miter gauge. In the end, I could cut perfectly spaced slots. And by "perfect," I mean they were freaking Mary Poppins.


The trouble is, my key ends are not spaced at perfect intervals. In fact, they're not even close. I checked. So, I then picked up the story stick idea recommended to me by no less than Mr. Miller, Michael Peter Johnson (on Facebook) and Owen (in person). The idea behind a story stick is that you cut a thin stick and mark it up where you would like to cut something. In this case, the register blank became the story stick and I marked the centers of each key on it.
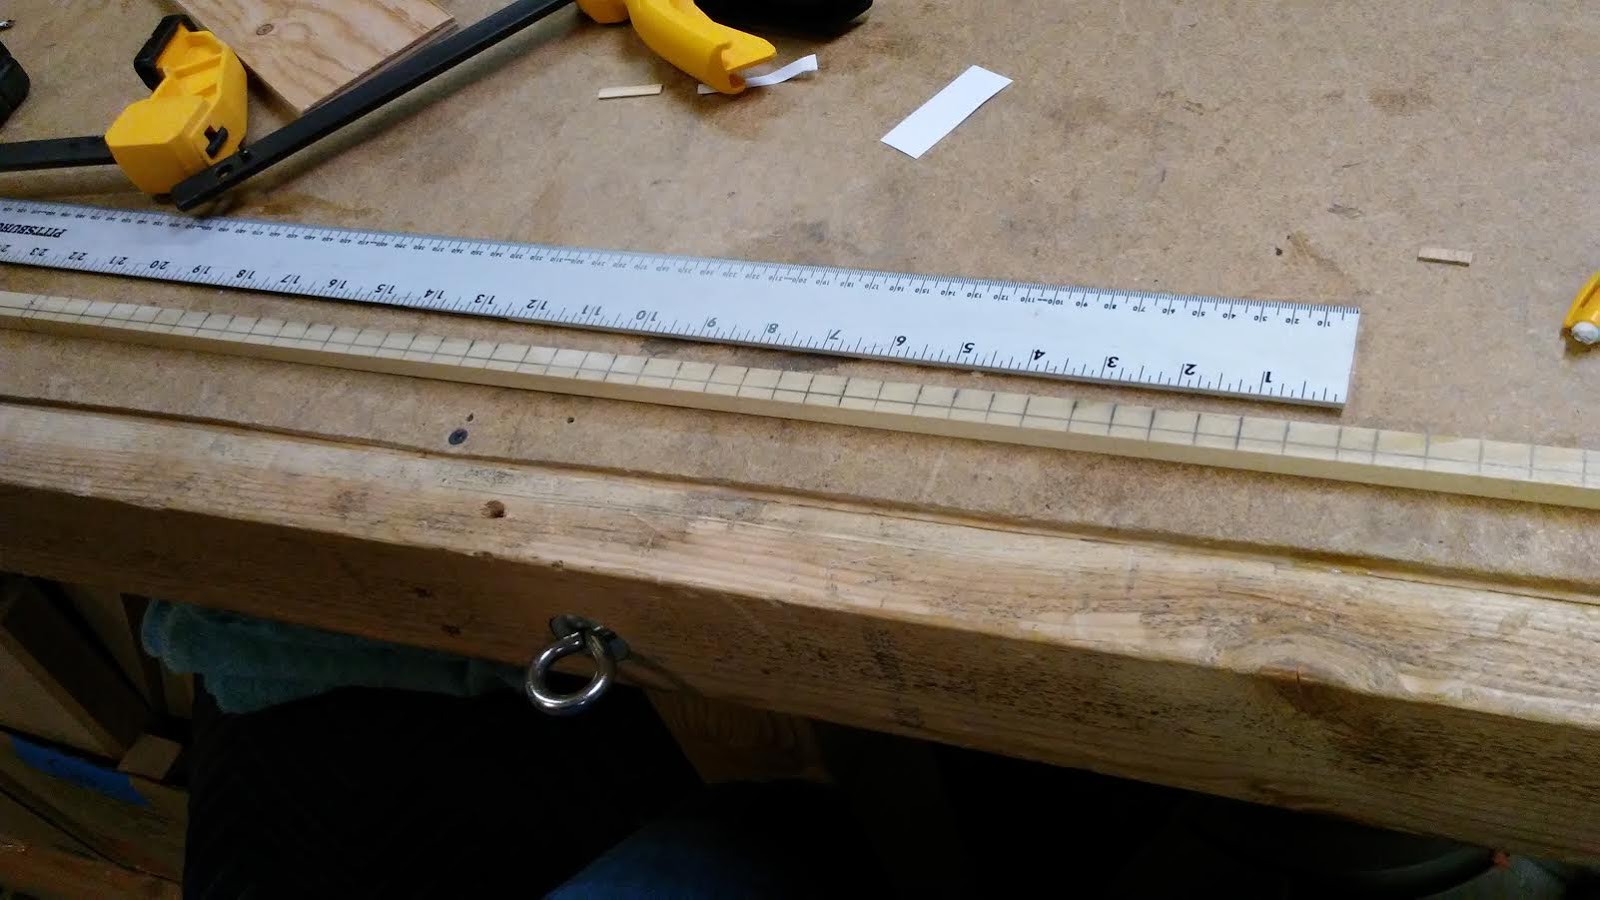
I then drew a line the length of the stick/blank 3/16" from one of the edges. This gave me a reference point for punching the starts for drilling the holes that intrude on the slot lines. These holes end up being semi-circles that give the jack some relief space after the pluck - it swings out as it makes its way past the string when it comes to rest after the key release. I'll illustrate and explain more about this in a later post. I used my nifty spring-loaded punch and put holes along the reference line about 1/16" away from the right slot line (if the bass end of the register is on your left). Yeah, I eyeballed them and they turned out to be just right for the most part (I may have to clean a couple of them up later).

Once all of the holes were drilled, I slotted the heck out of both registers - yes, there are two (more on this later, as well). I went to town using the table saw blade loaned to me by Owen.


And everything came out just about right.

I just need to bevel the undersides at 10 degrees (more about this later, too), glue up the combs (with the thin strips you see in the photo above), and cut them to length. The next step will be to create the lower registers, which should not take as much time as this adventure - 20/20 hingsight and all that.
On a tangentially-related note, before I embarked on the slotting fun, I thought, "Boy, it's been a while since I've cleaned out the table saw cabinet." In reality, I hadn't cleaned it out since purchasing the saw, which has been a good while. What I found when I opened it up gave me cause for alarm.

This just reinforced the fact that I need to adhere to my regular shop maintenance schedule. In my defense, I usually shut things down during the winter holiday season and clean everything up. Now that this is done, though, I may not end up shutting down this year. The good news: I ended up with a clean saw cabinet.

Along with this, I decided to clean up the scrap pile that's prevented me from walking all the way around the assembly table for quite some time now. I have an amazing ability to ignore such things. The upcoming open house on December 3 is largely what prompted me to take this action. Oh, yeah, we're having an open house from 10:00 a.m. to 4:00 p.m. on Saturday, December 3. I wanted to hold it to show anyone interested what the inside of the case looks like before I glue on the soundboard and obscure everything. You're invited - check out the Molnar Opus 1 Harpsichord Project Facebook page for details.
As I was saying, I decided to clean up this mess:

It was creating a situation in which I didn't ever feel like venturing out into the shop. Cluttered shop, cluttered mind. I pulled all of this crap out into the front of the shop, canning a lot of the little, useless pieces.

Apparently, there was a wall behind all of it. Who knew?

Then, I hopped over to Home Depot and purchased one of the shelves to match those I purchased for all of the walnut. This little shelf will hold up to 2,000 pounds, which ain't bad. Now, I can get around the assembly table and I don't feel an impending sense of chaos when I hit the shop (the election season notwithstanding). It's good to be organized. Now, if I can just stay that way.
Until next time...
No comments:
Post a Comment